Squarebashing 1914 – Russians vs Germans

1914 Squarebashing on Thursday. I fought using the Russians vs Bobs’s new Germans. We used Rays new ‘stick method’ , replacing the countdown to battle, which worked well – and we we determined the attack defence in about 5 minutes. Despite trying to attack, I lose that, and the stoic Russians were on the defence. I had imagined another cinematic Cossack sweep down the empty flanks. But I got neither the event nor the first turn! Defending also means you have to take the full brunt on the depletions. Its not like the small professional BEF who can cram into the object squares and hope to get lucky with the reduced dice.

sb1
Pre Depletions

With 7 depletion dice per square the losses were savage, with the Russians ending up with over 10 battalions off the table. Any plan for envelopment was put to the side, and it was a holding on game right from the start.

sb2
Post Depletions

The game started slowly , both Bob and I did not get assets where we were committing 7-8 dice to the throw. This somewhat stymied Bob’s attack and the missing point effect barrage prior to his central assault meant that the attack was repulsed (just! a draw!) This had the usual bogging effect on the game and both sides sat back after initial loses, trying to blast somewhere with fire and artillery to gain advantage. The fact that the central areas of the table had villages lessened the casualties that were inflicted on the Russians. The Russian reserves dribbled on not in any spectacular way, but always a battalion or 2 arriving into the centre where the fighting was fiercest. The attack was very narrow , across only 3 or 4 squares and those columns became filled with troops. The game was quite unusual in that aspect, and has wide areas in the flanks that had very thin defences.

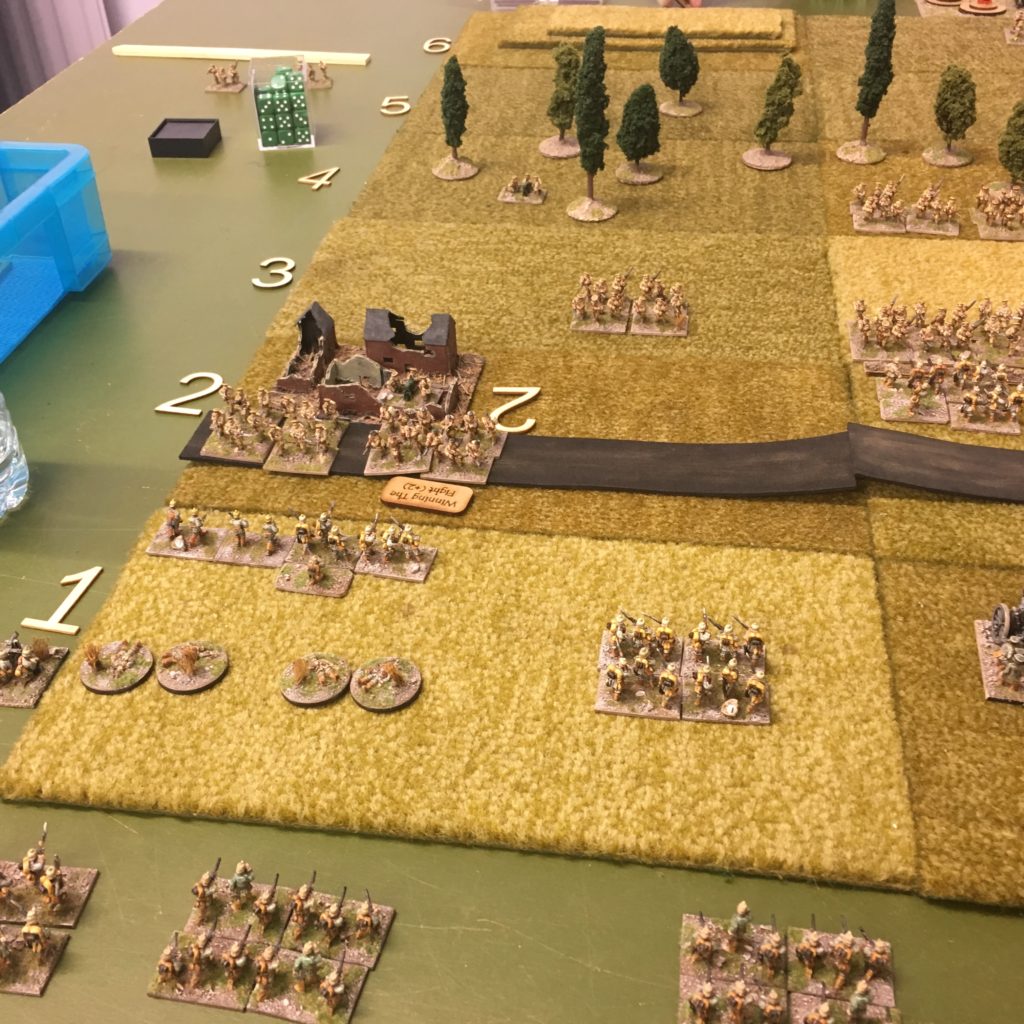
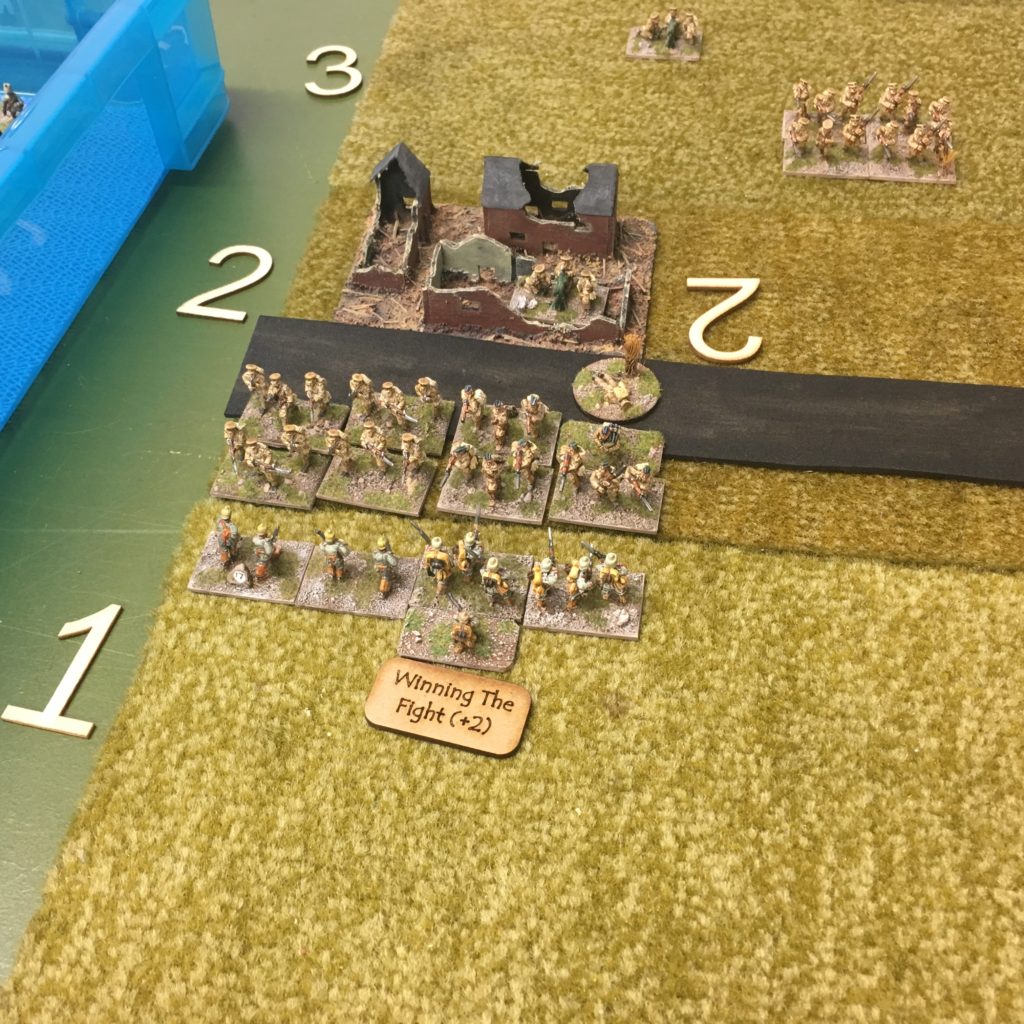
One German battalion has strayed out of the cover of buildings into the open and was the target of a glorious cossack charge. Isolated and unsupported the infantry were swept from the field and the cossacks wore their ‘winning the fight’ like a badge of honour – it doesn’t happen often!

sb3

With the German attack blunted it reached a stalemate. Where the germans had broken into row 3, it was not an objective, and either side defences and machine guns kept the worrying threat of a flank charge honest. The game to a close with little ground gained. The Russian losses were quite bad – and maxed out on 20 bases lost. But strangely neither side had lost any whole battalions. With the Russians still ensconced in 3 out of 4 objectives meant a solid victory for the czarists.

Another enjoyable game with the Russians, they seem to play out really well. Having a largely reservist list looks weak on paper and you’ve got to expect a lot of losses. But playing with morale higher command and a few judicious ‘hold the line’ orders and really they are not going anywhere. I suppose I was lucky when the the dreaded suppression barrage came, in as that is the reservist nightmare. If they take a casualty from that (likely) then you have 5 squares which with typically have a 3 dice test. This has a real risk of getting a ‘retire’ result, stuck under suppression meaning you can’t move and take the extra 6 hits. Whole bases are coming off in that way for Reservists.

Squarebashing always seems to give a good game, even it what might seem to be uninspiring circumstances 🙂

Square Bashing – Early War – Germans v British

I played Ray Boyles with his Early War British with his Germans.  I defended.  I lost a few in the depletion but nowhere near as many as the week before.

Ray rushed across the table on my left and in the centre.

sq0016sq0018

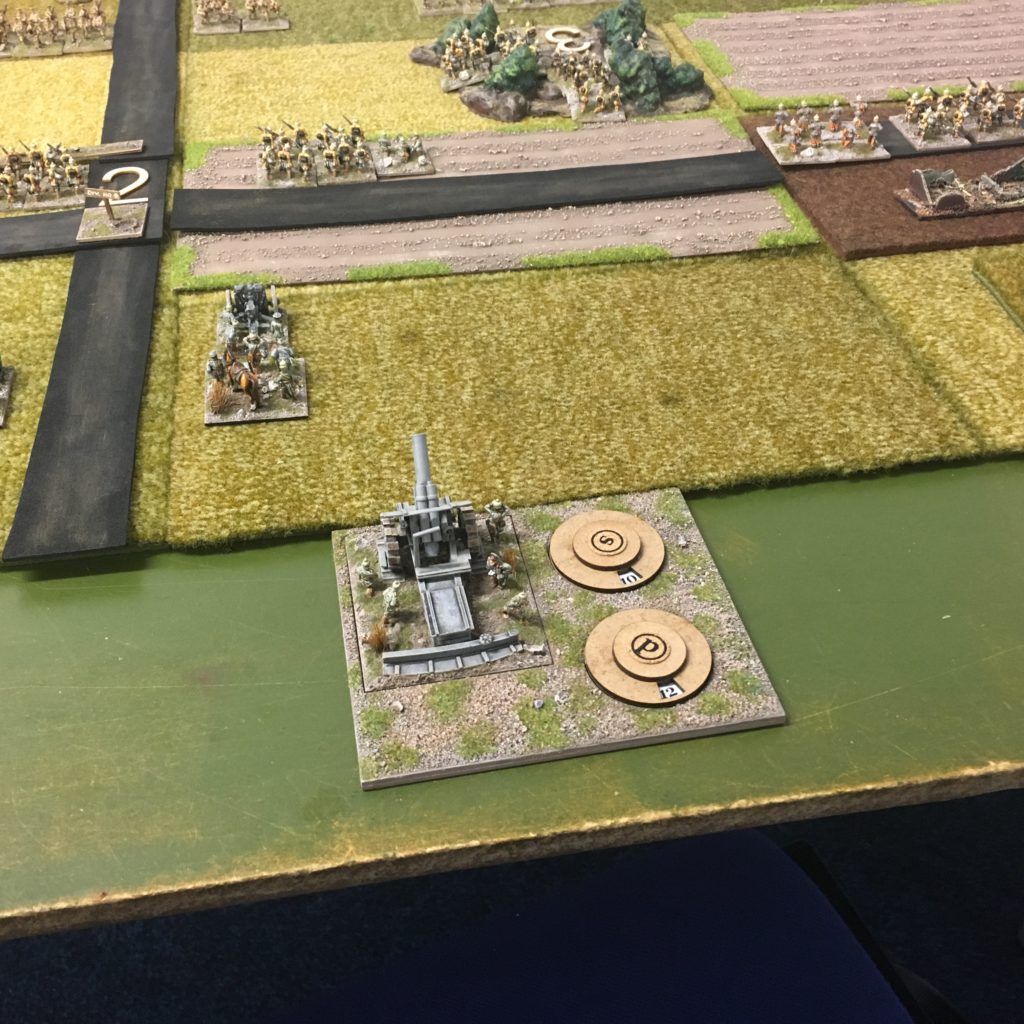
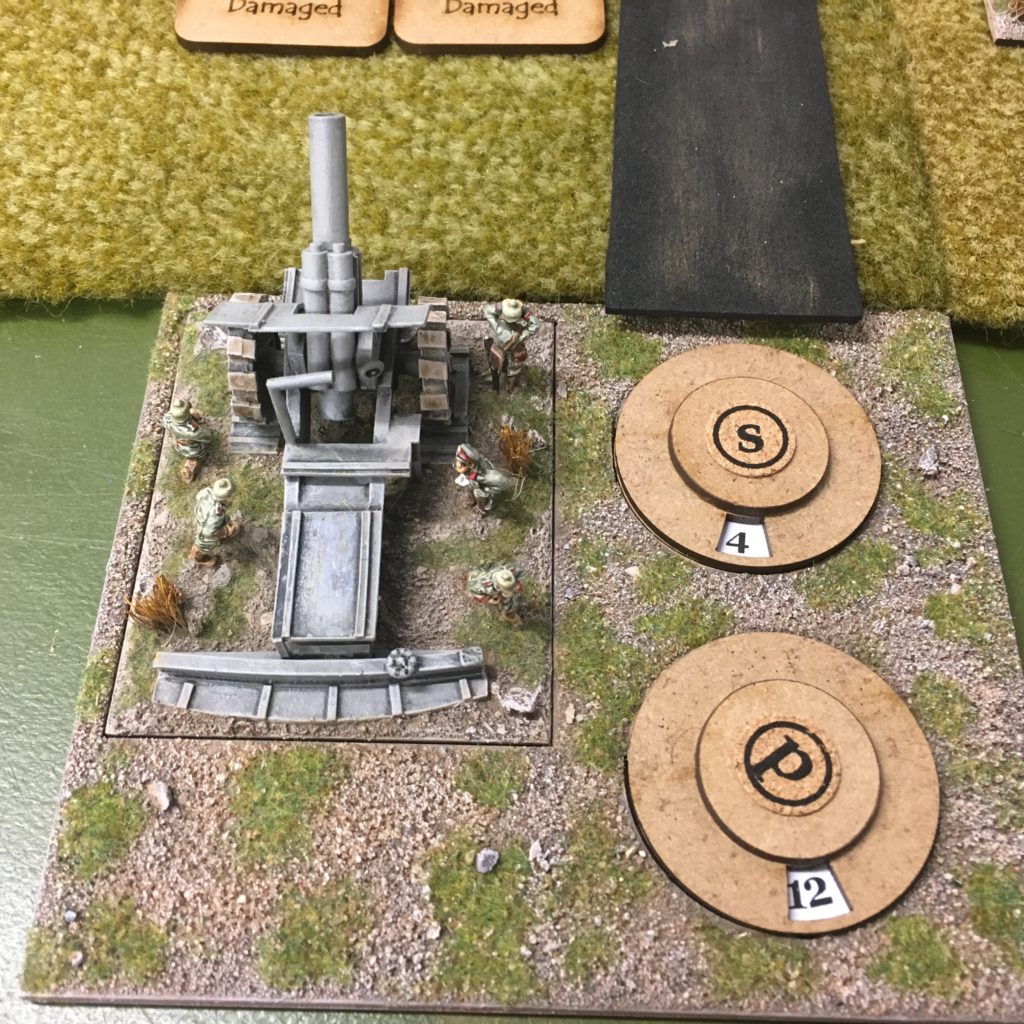
My off table artillery was represented with this super scratch built German Big Bertha.  It has a marker for assets left.

sq0021

sq0023

I was driven out of my objective on the left with heavy losses.  Ray followed me out to administer the coup de grace.

sq0022

Ray attacked my centre in force.

sq0024

Meanwhile by some fluke I manage to overturn the fight on the left.  Becoming the winner of the fight!!

sq0025

Rays artillery took its toll in the centre but I held on to pass my morale throws with a no move result – phew.

sq100

Ray threw all his troops into my hasty defences including a flank attack.  But we held on

sq0062

My amazing shooting dice – hurrah.  But we had not done the assault – boo.

sq101

I called down my point effect artillery.  It hit the exact spot decimation Rays artillery and his assault on my right flank. 

sq00264

So the Huns held on after some initial setbacks.

I really enjoyed the game and felt that I am getting into the swing of the game.  Good fun!!

Battle of Stamford Bridge – 1066 Mortem et Gloriam

The next installment of our 1066 anniversary battle is the Battle of Stamford bridge. This time round Harold Godwinson was to take the field against Harald Haldraada. The armies lists were –

screen-shot-2016-11-11-at-09-31-29 screen-shot-2016-11-11-at-09-31-46

The Campaign game replaces the ‘5 days before battle’ section with its own map. The Saxons are always attacking , and the Pre Battle cards indicate whether the battle took place at its original spot (where the Vikings are surprised and the army split) or whether the Vikings are more ‘canny’ and force a more conventional pitched battle. Both sided had 9 cards, so it wasn’t a guarantee that it would take place as historically.

screen-shot-2016-11-11-at-09-32-38

The preamble began slowly with the Saxons winning or drawing the early hands and thus the battle being held in the spot advantageous for them. The penultimate hands saw the Vikings make a break out away from the river and to an open plain for battle. However, a last red Saxons card in the last round saw the Vikings pushed back to the river, and the battle would be fought as per the special rules.

The battlefield was split with a traverse river, which while fordable was difficult going. The Viking army was split in two , each half being deployed on each side of the river. In the first turn the Viking would be dealt cards ‘face up’ – using the allies rules – to represent their lack of preparedness for the battle.

The scouting phase was not particularily exciting , with 100% heavy infantry armies there is not much in the way of scouting cards. The Saxons did outscout , but only by 20% (which was 2 TuGs)

stamford1


The blasted north, looking a bit more like Mordor than Yorkshire. The coloured sticks a necessary evil to denote troop quality and command. As they are all my figures and are the same it could get a bit mixed up

So there were 5 Vikings battlegroups on each side of the river. The Saxons had 11. The victory conditions were that the Saxons must break the Vikings (destroy 5 TuGs) while if the Vikings held on (for 3 hours) then it would be a Dane victory. So if Harold could crush the 5 battle groups on the near side of the river, before the others ‘woke up’ then that would be the game.

The cards were dealt.

Luckily the Vikings did have a good hand of cards and not one of their commands was ‘asleep’ – the Saxons has obviously trod on a few too many twigs en route to the battlefield.

Harold and his Hearthguard had made the unusual decision to go right at the end of the line to try and act as a hammer while the anvil of the Select Fyrd held the surprised Vikings in place.

stamford2

Battle was joined. The Viking on the far bank of the river formed up and advanced (as quick as their cards would allow) , but the river was slow going.

stamford3

The Vikings facing the onslaught of the Saxon army fought valiantly. The first casualty of the game being one of Harold’s elite Hearthguard. The shieldwalls ground into each other, but they were evenly matched and the Vikings broken the deadlock when one of the Saxon Huscarl catastrophically units broke on the centre of the line. The Vikings started spewing though the gap and rolling up the line

Things were looking close. Harold broke his opposition on the end of the line and tried desperately to turn the line there and capitalise on that advantage. However disaster struck and the huscarls next to Harold were attritted away and broke. They was a sizeable hole in the Saxon line now. The was a slim chance now, as the Saxon training was marginally better and the ‘tribal’ Hird would find it difficult to redeploy in a different facing.

stamford4

As an indicator of quality green = average, yellow = superior and red = exceptional

At this point the remainder of the Viking force crossed the river. This equalised the numbers and the Saxons would just have to be lucky. This was not the case. The Saxons ended up having to commit elements of the lesser Fyrd, and it was getting desparate. As we approached the end game (3 hour time limit for Viking victory) Tostig and his men destroyed another Saxon Huscarl unit. The only positive being that it cost the treacherous brother his life as he fought in the front rank! The Saxon army teetered on breaking, the coup de grace being when the flanked Saxons had a disastrous set of dice and a unit of Viking Huscarls – who had been 1 hit from breaking for most of the game – hit the end of the lined diced well and broke the unit they hit in the flank for no loses… Harold Godwinsons army broke.

Harold and his men by virtue of being at the end of the line could only be spectators as the Saxons army crumbled and fled. That did save him from being part of the destruction.

As our Battle of Stamford bridge concluded we rationalised that Harold with his army now defeated would not be in any position to stop Willliam in the south, and would flee to the continent. For our next instalment we decided to break from history try and see what would happen with the North still under Viking rule and the South now controlled by the unopposed Normans. Stay tuned for the next instalment …