After being caught up with all the centenary media (esp 37 Days), I thought that this year would be a good idea to do a little WW1. The remit of this project would that it would be up and running in a few weeks. Concentrating on the very early part of the war I needed to be playing while the period was still ‘hot’. With that in mind here is my tutorial on how to paint 200 infantry in about 2 weeks.
The first army will be the small British BEF. My preferred 15mm manufacturer being Peter Pig. The reasons being – neatly cast (no cleanup) , comprehensive range , quirky looking sculpts (with a reasonable high relief – more on that later)…. And finally ‘all round good eggs at PP’
With this in mind I will commit to do the whole of the army in a single ‘process batch’. Here are the steps –

Debag the figures.
Clean up (none), other than a scrape along the bottom to keep the base flat
Hot glue gun them lolly sticks (the large ‘tongue depressor’ type). Bagful for a £1 at a craft shop/works

Primer. I picked PSC German Dunkel Gelb for this job. It has a rather pleasing green hue, and it light and bright. As the project would be a ‘wash’ project then at this stage you can afford to be light and bright. The subsequent washes will bring it down (and I like bright!)

Primary Wash. Mix up a big batch of gloopy paint wash. There wasn’t much method to this. It was just a mix of khaki and green (Vallejo Brown violet) until it was an approximation of the colours I was aiming for.

Mix to milky consistency, a bit of acrylic flow improver (vital to avoid tide marks). But on a ‘spray primer’ I find that the surface tension means that you do get a good capillary action. The main worry is that this is too much and the paint pools. Flow improver is good for that. The best I’ve found is GW Lahmian medium (but it is expensive) and for smaller batches I’d recommend. But in this case I just use a cheapo (Windsor and Newton)..
 As you can see at this stage you don’t have to be be too fussy and can really blob it on. When it dries it will shrink back and you are trying to use the paint over the primer to do your shading.
At this point I’m going to block paint all the main areas of colour. So, webbing and pack with a lighter canvas colour, rifle stock brown. Not leave the face at this point. The face is the only thing I’m going to paint. The face is a focal point for the eye, do this well and all else if forgiven
Shading Wash. Once you this has dried (leave overnight) then comes the varnish wash. This is a red/brown/mahogany  that I bought from a £1 shop. Thinned down with turps to a very wet wash and lather it on. All the figure brightness will drop anyway at this point. You can use Army painter dips (which are probably better colour ranges) , but the only thing I find is that they give a waxy finish when dry and its hard to paint any detail over later. I might use AP dip for the Boche later. I like my cheap dip, as it had a Polyurethane finish and acts as a hard coat and can easily be painted over.

Leave to dry for 2 days. This stuff take a long time to dry, and is really stinky , so is best left outside (or in a shed)
Then it is really the home run.
Face painting. A orange brown base coat foe hands and face, then AP tanned flesh and AP barbarian flesh ( I bought a new brush for this, just for a crisp edge). As I said it you do a good face then all else will be overlooked. This triad does give quite a ruddy complexion , but as this was a decision to contrast with uniform (and bring out the greens) .. red and green been complementary on the colour wheel.
You may choice to put in a little paint over the webbing and bring out a strap or two.

The final stage being the matt varnish. I like a lead chromate based paint (outside job) , 1407 Rail Match Matt Varnish. I have been using this for 20 years and have found no equal (and I tried them all!)

There will be more to come on my blog
www.lurkio.co.uk/blog


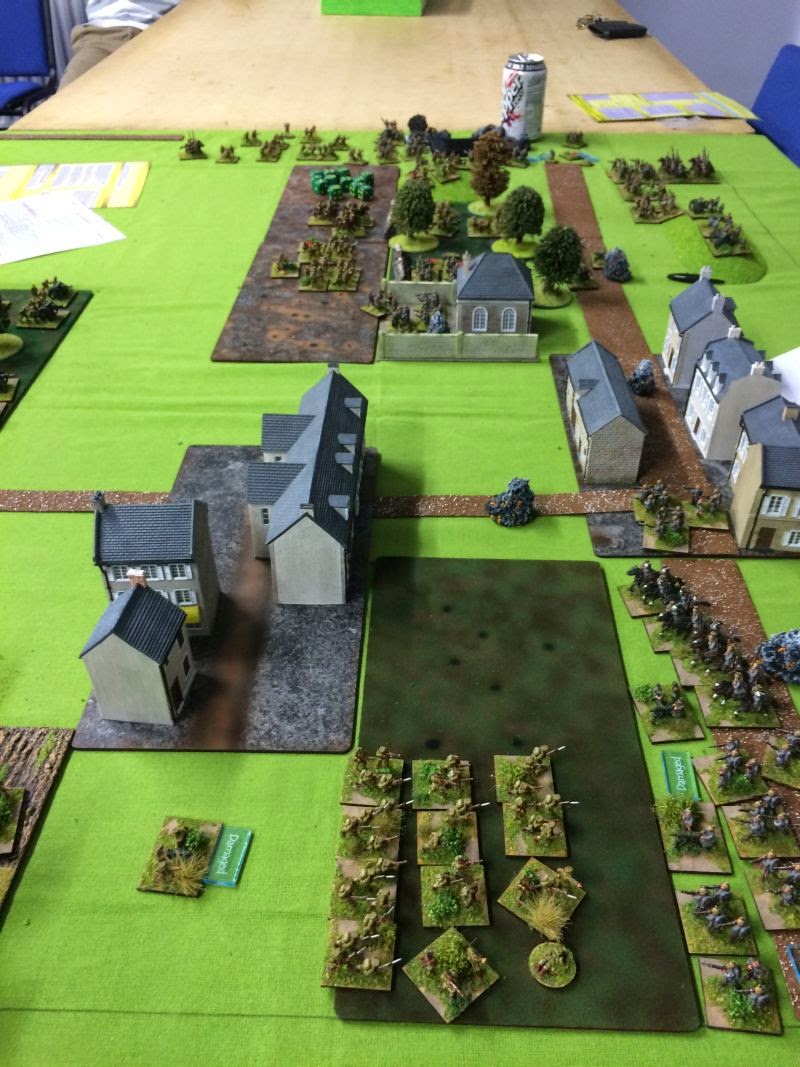 Last night James and Scrivs came down for a game of squarebashing. Paul has diligently documented the event here !


