A write up of the recent one day game of the Battle of Marston Moor is now on the Renatio et Gloriam website

A write up of the recent one day game of the Battle of Marston Moor is now on the Renatio et Gloriam website


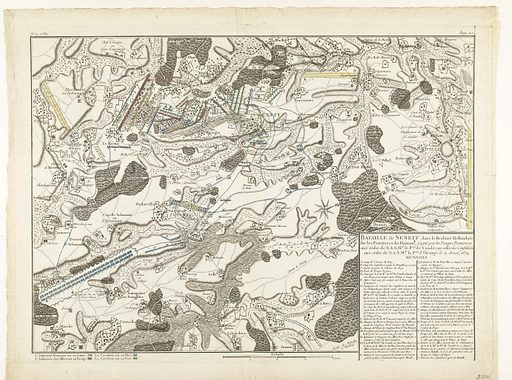
The game began with the French vanguard assaulting the Allied rearguard around the town of Seneffe in an attempt to roll up their column. The Spanish infantry fought gallantly and held the town for over two hours for the loss of just a single dragoon unit. The Allied cavalry between Seneffe and the rear of the Allied column held off the initial French charge but eventually crumbled and ran, leaving the infantry in Seneffe to surrender with full honours after buying the Allies valuable time to set up a second line of defence.

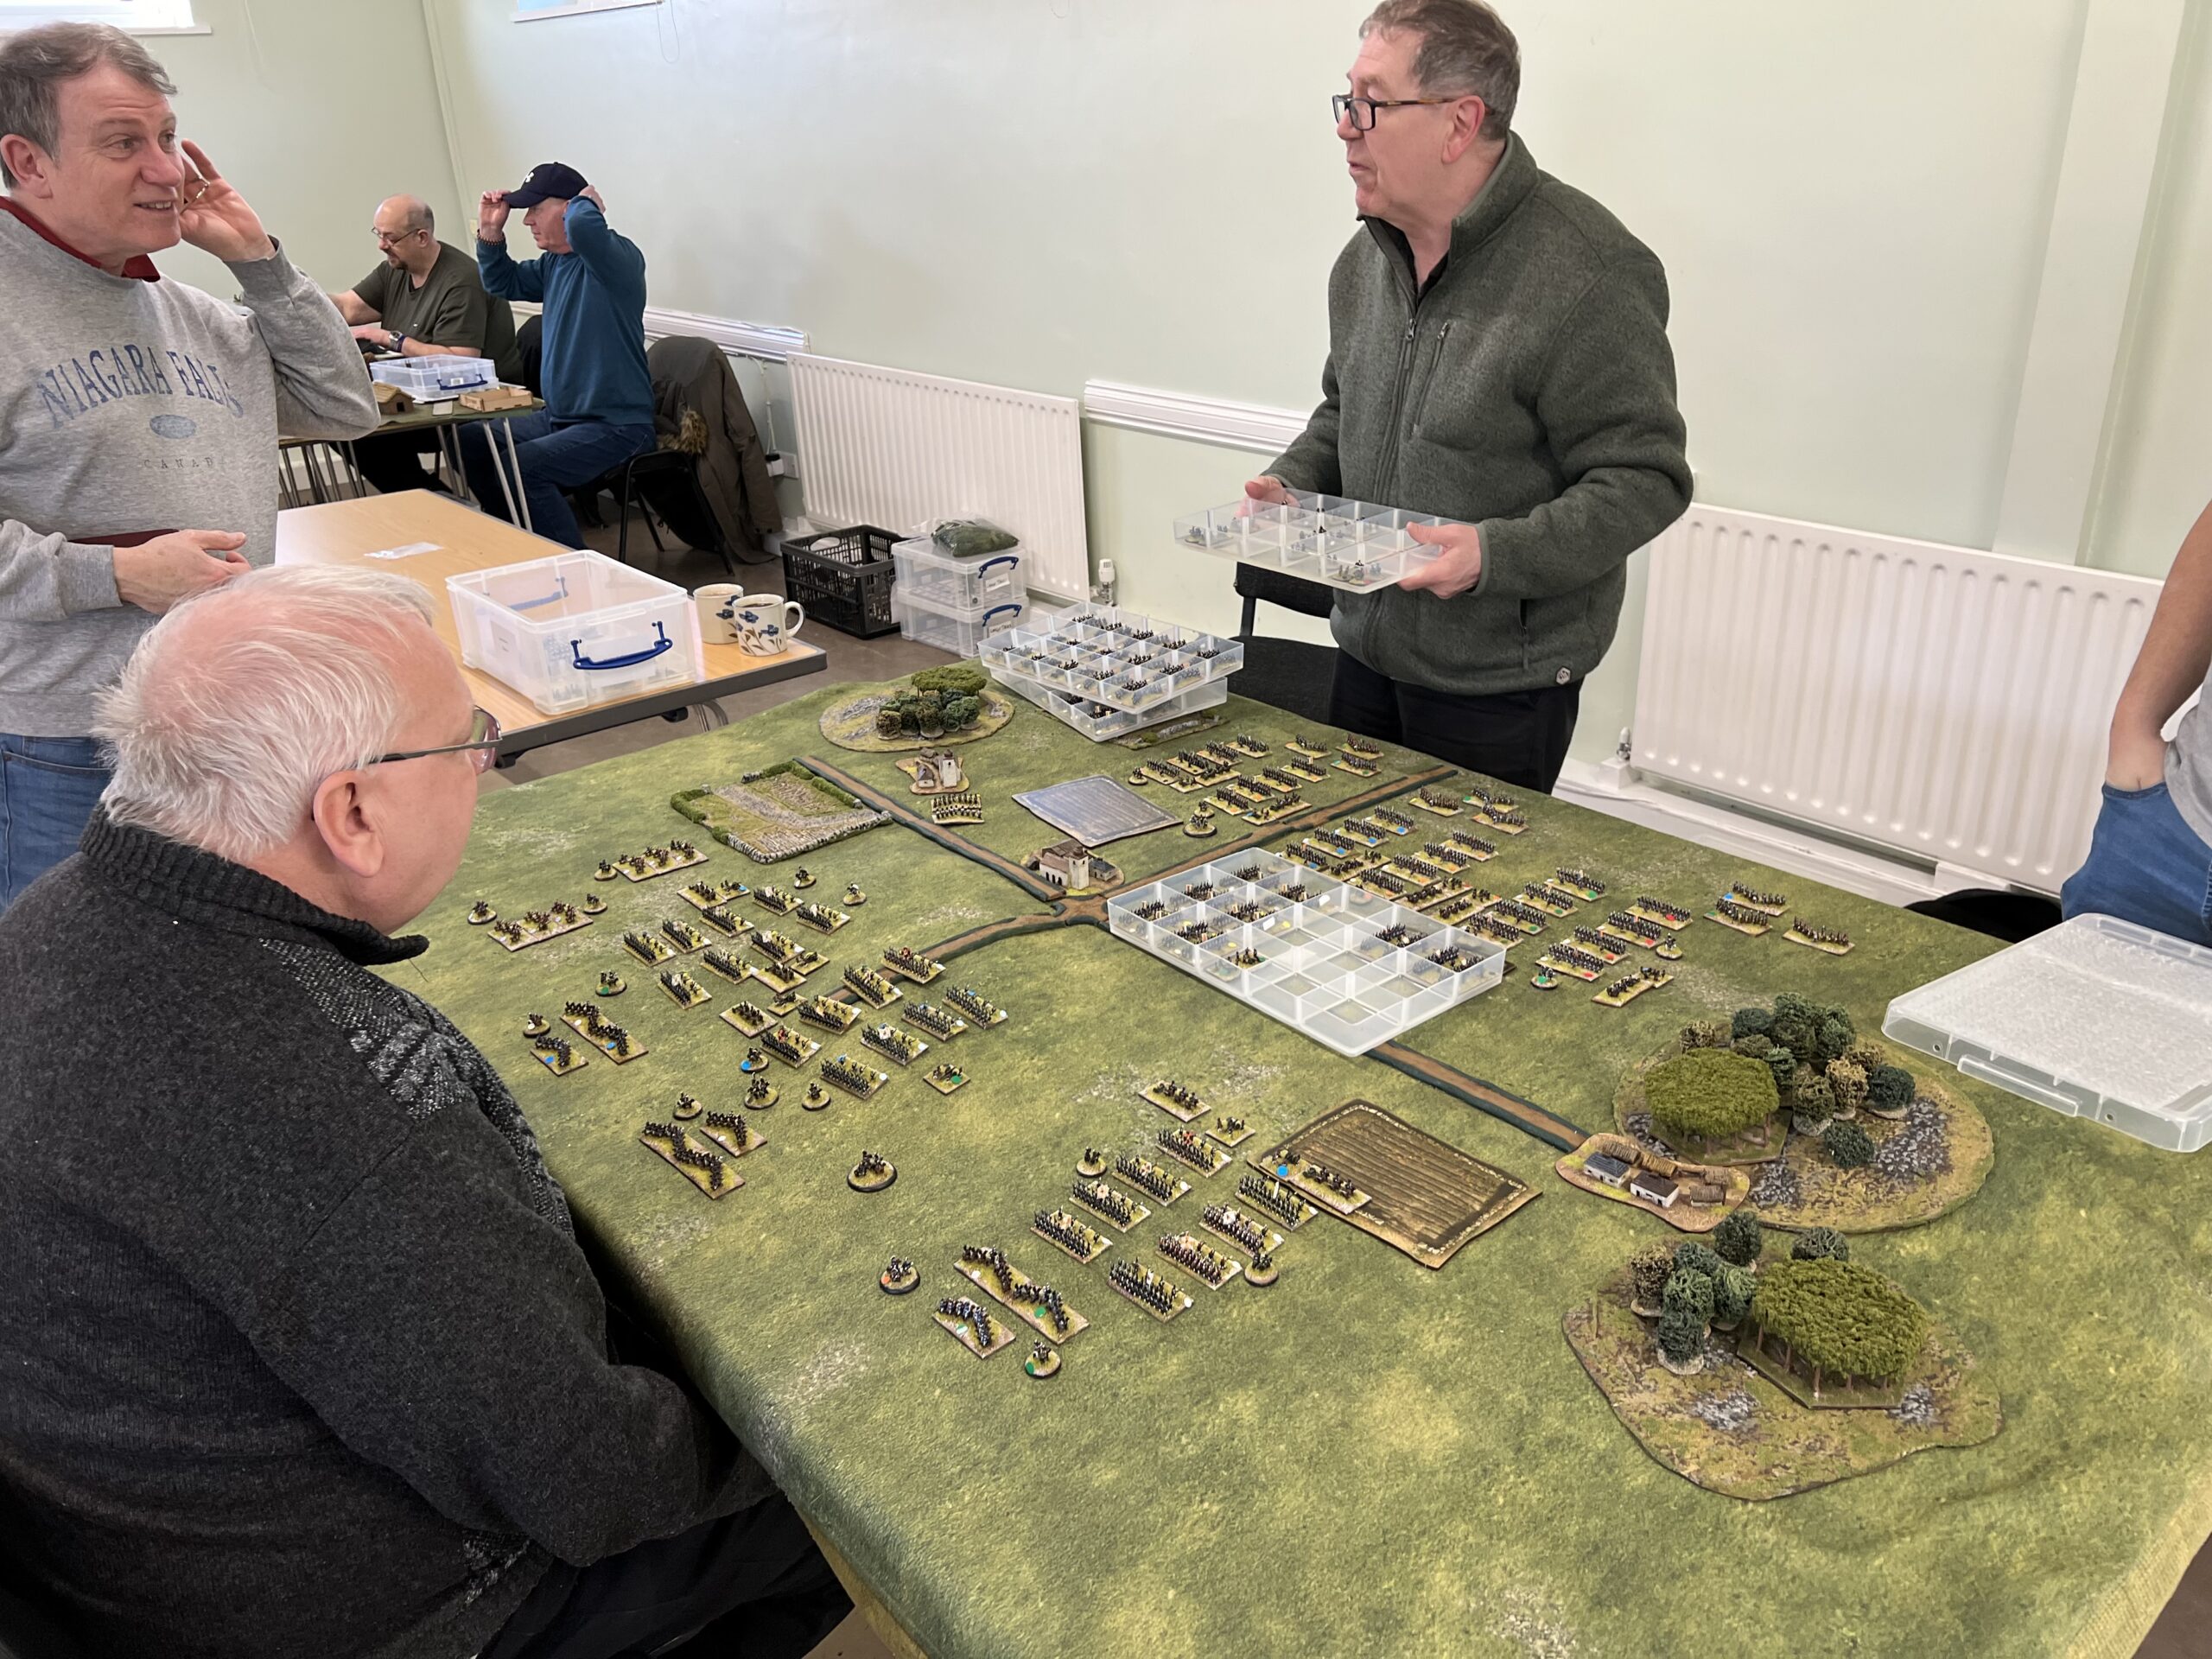
Steve points out the exact spot at which the Allied cavalry will break in the next move

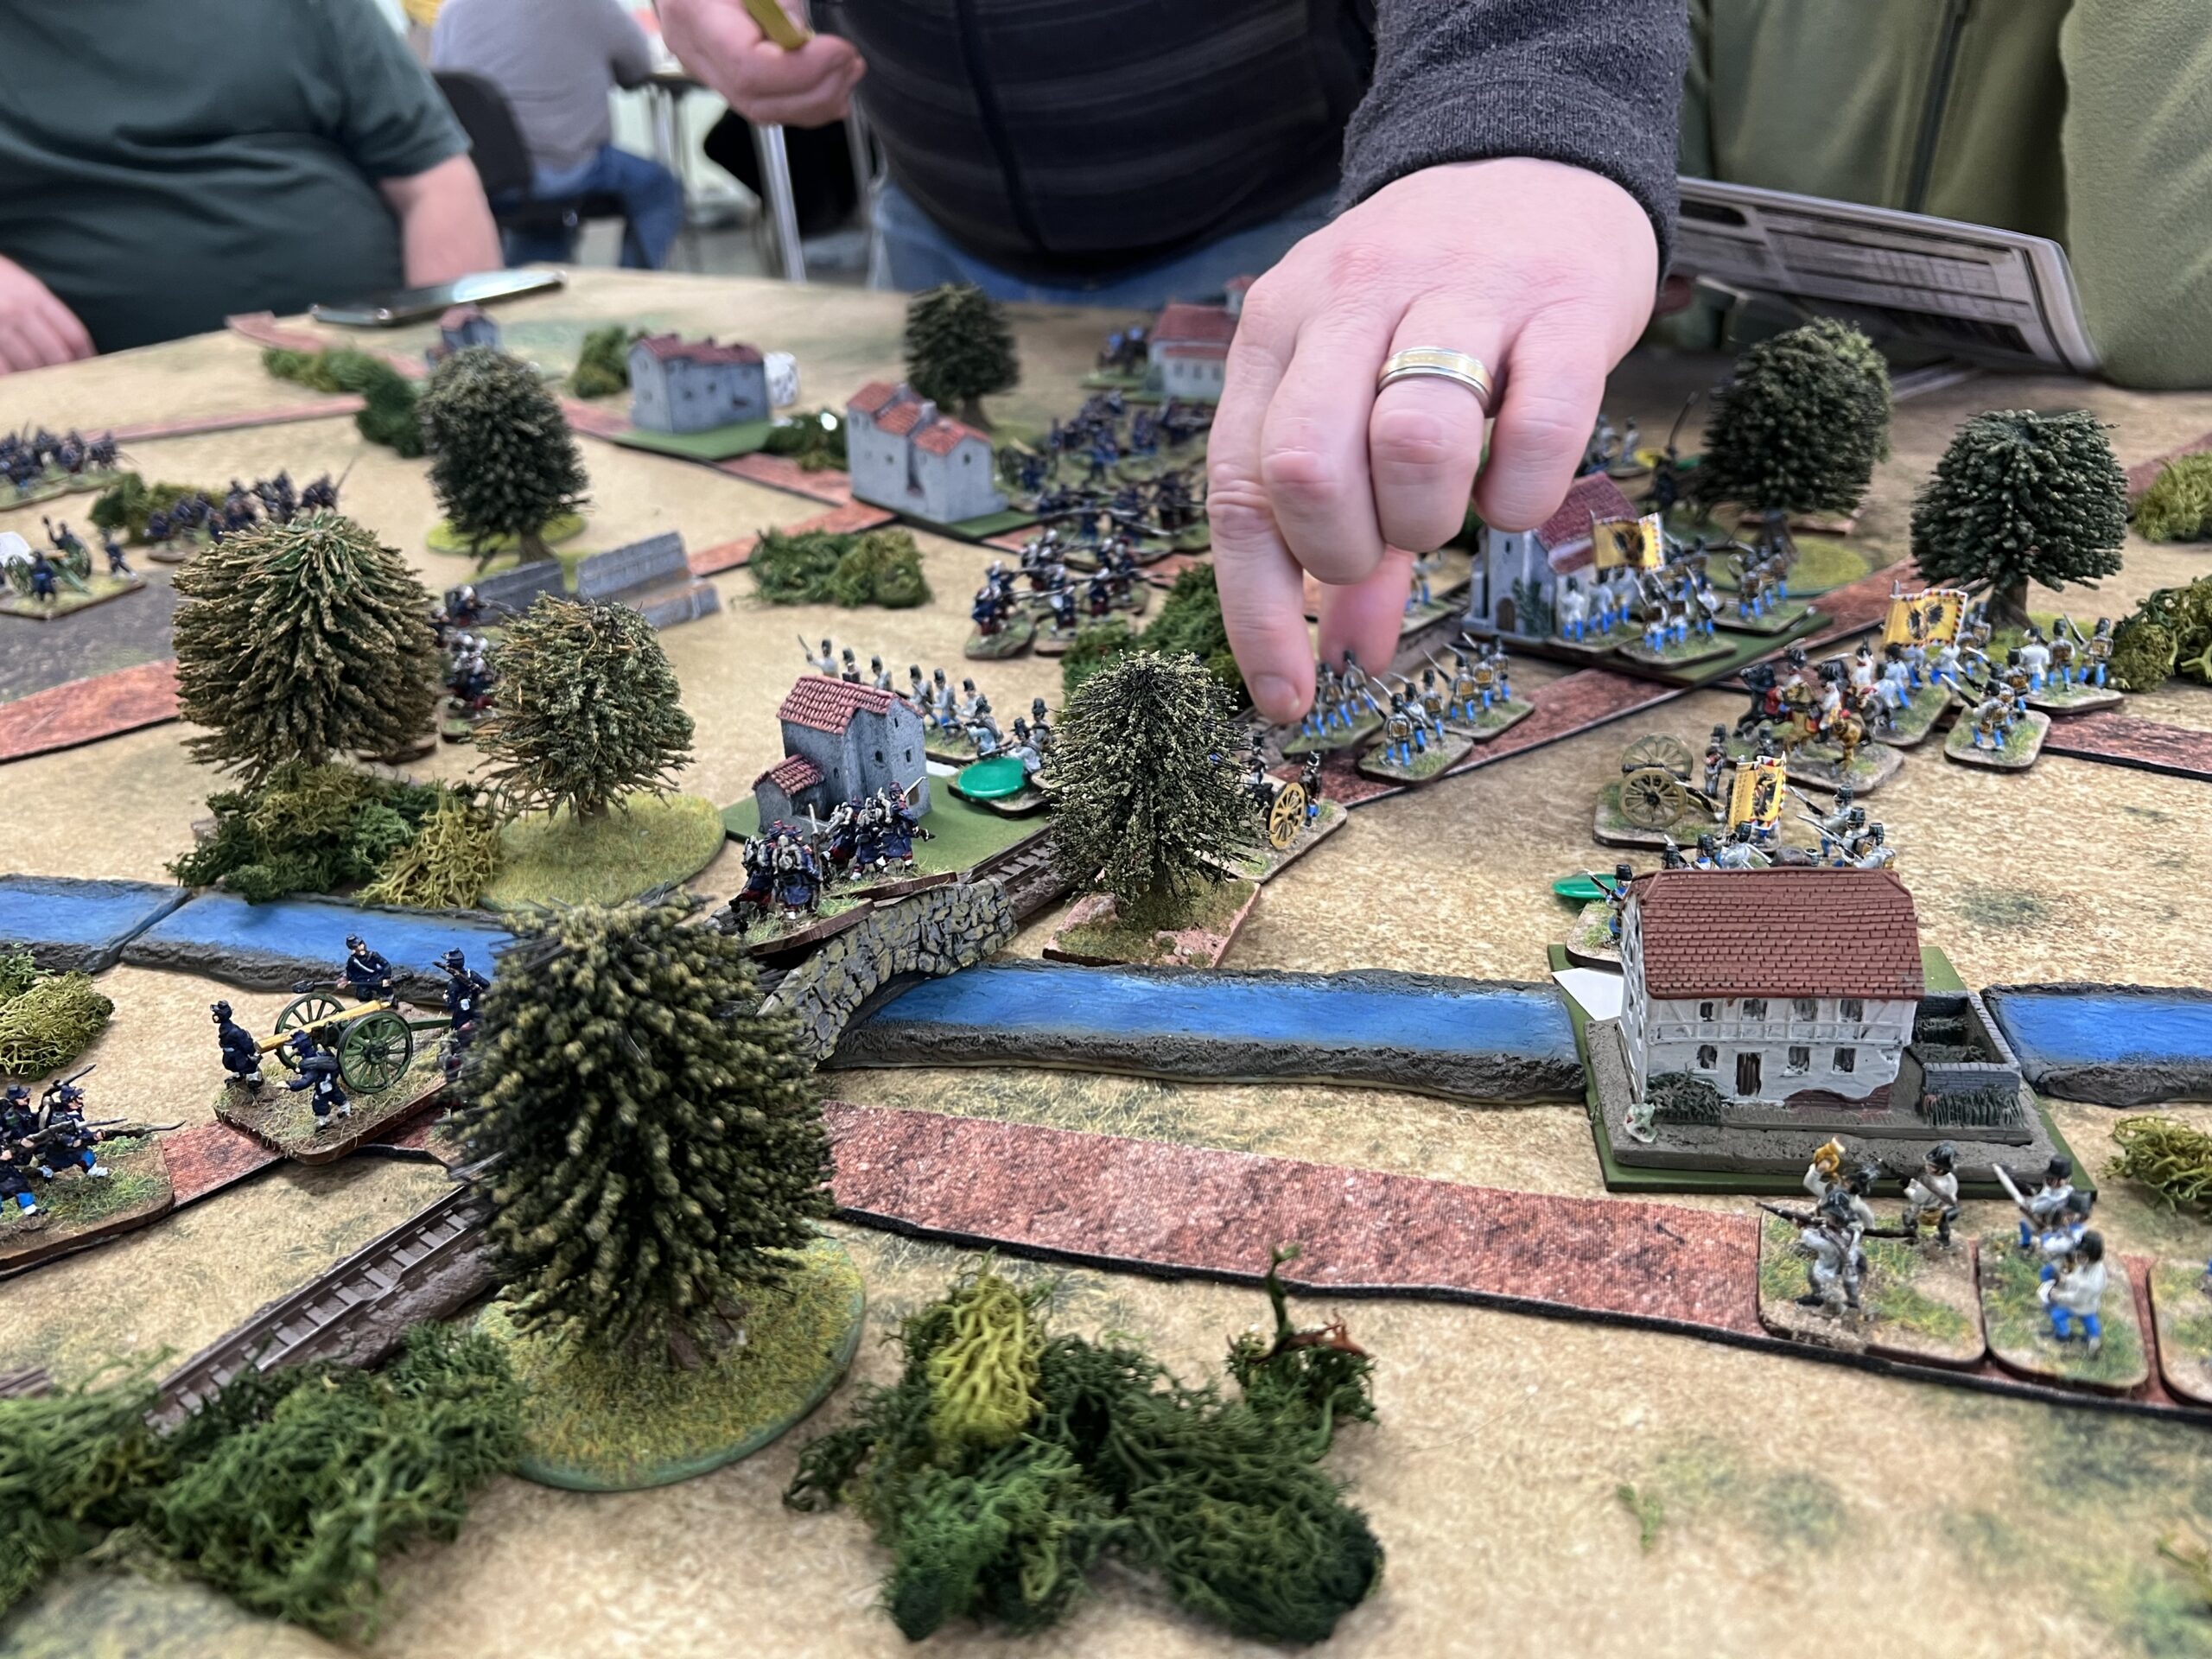
The French vanguard, having secured Seneffe, prepares for an assault on the Allies’ second line of defence as Pete looks on with his usual air of confidence (?)
The view from the Allies’ second line of defence. The French commanders on either side of Simon G look on scathingly with arms folded, not noticing him warming up the dice for his Spanish cavalry’s epic repulse of Luxembourg’s French cavalry in a few moves time.

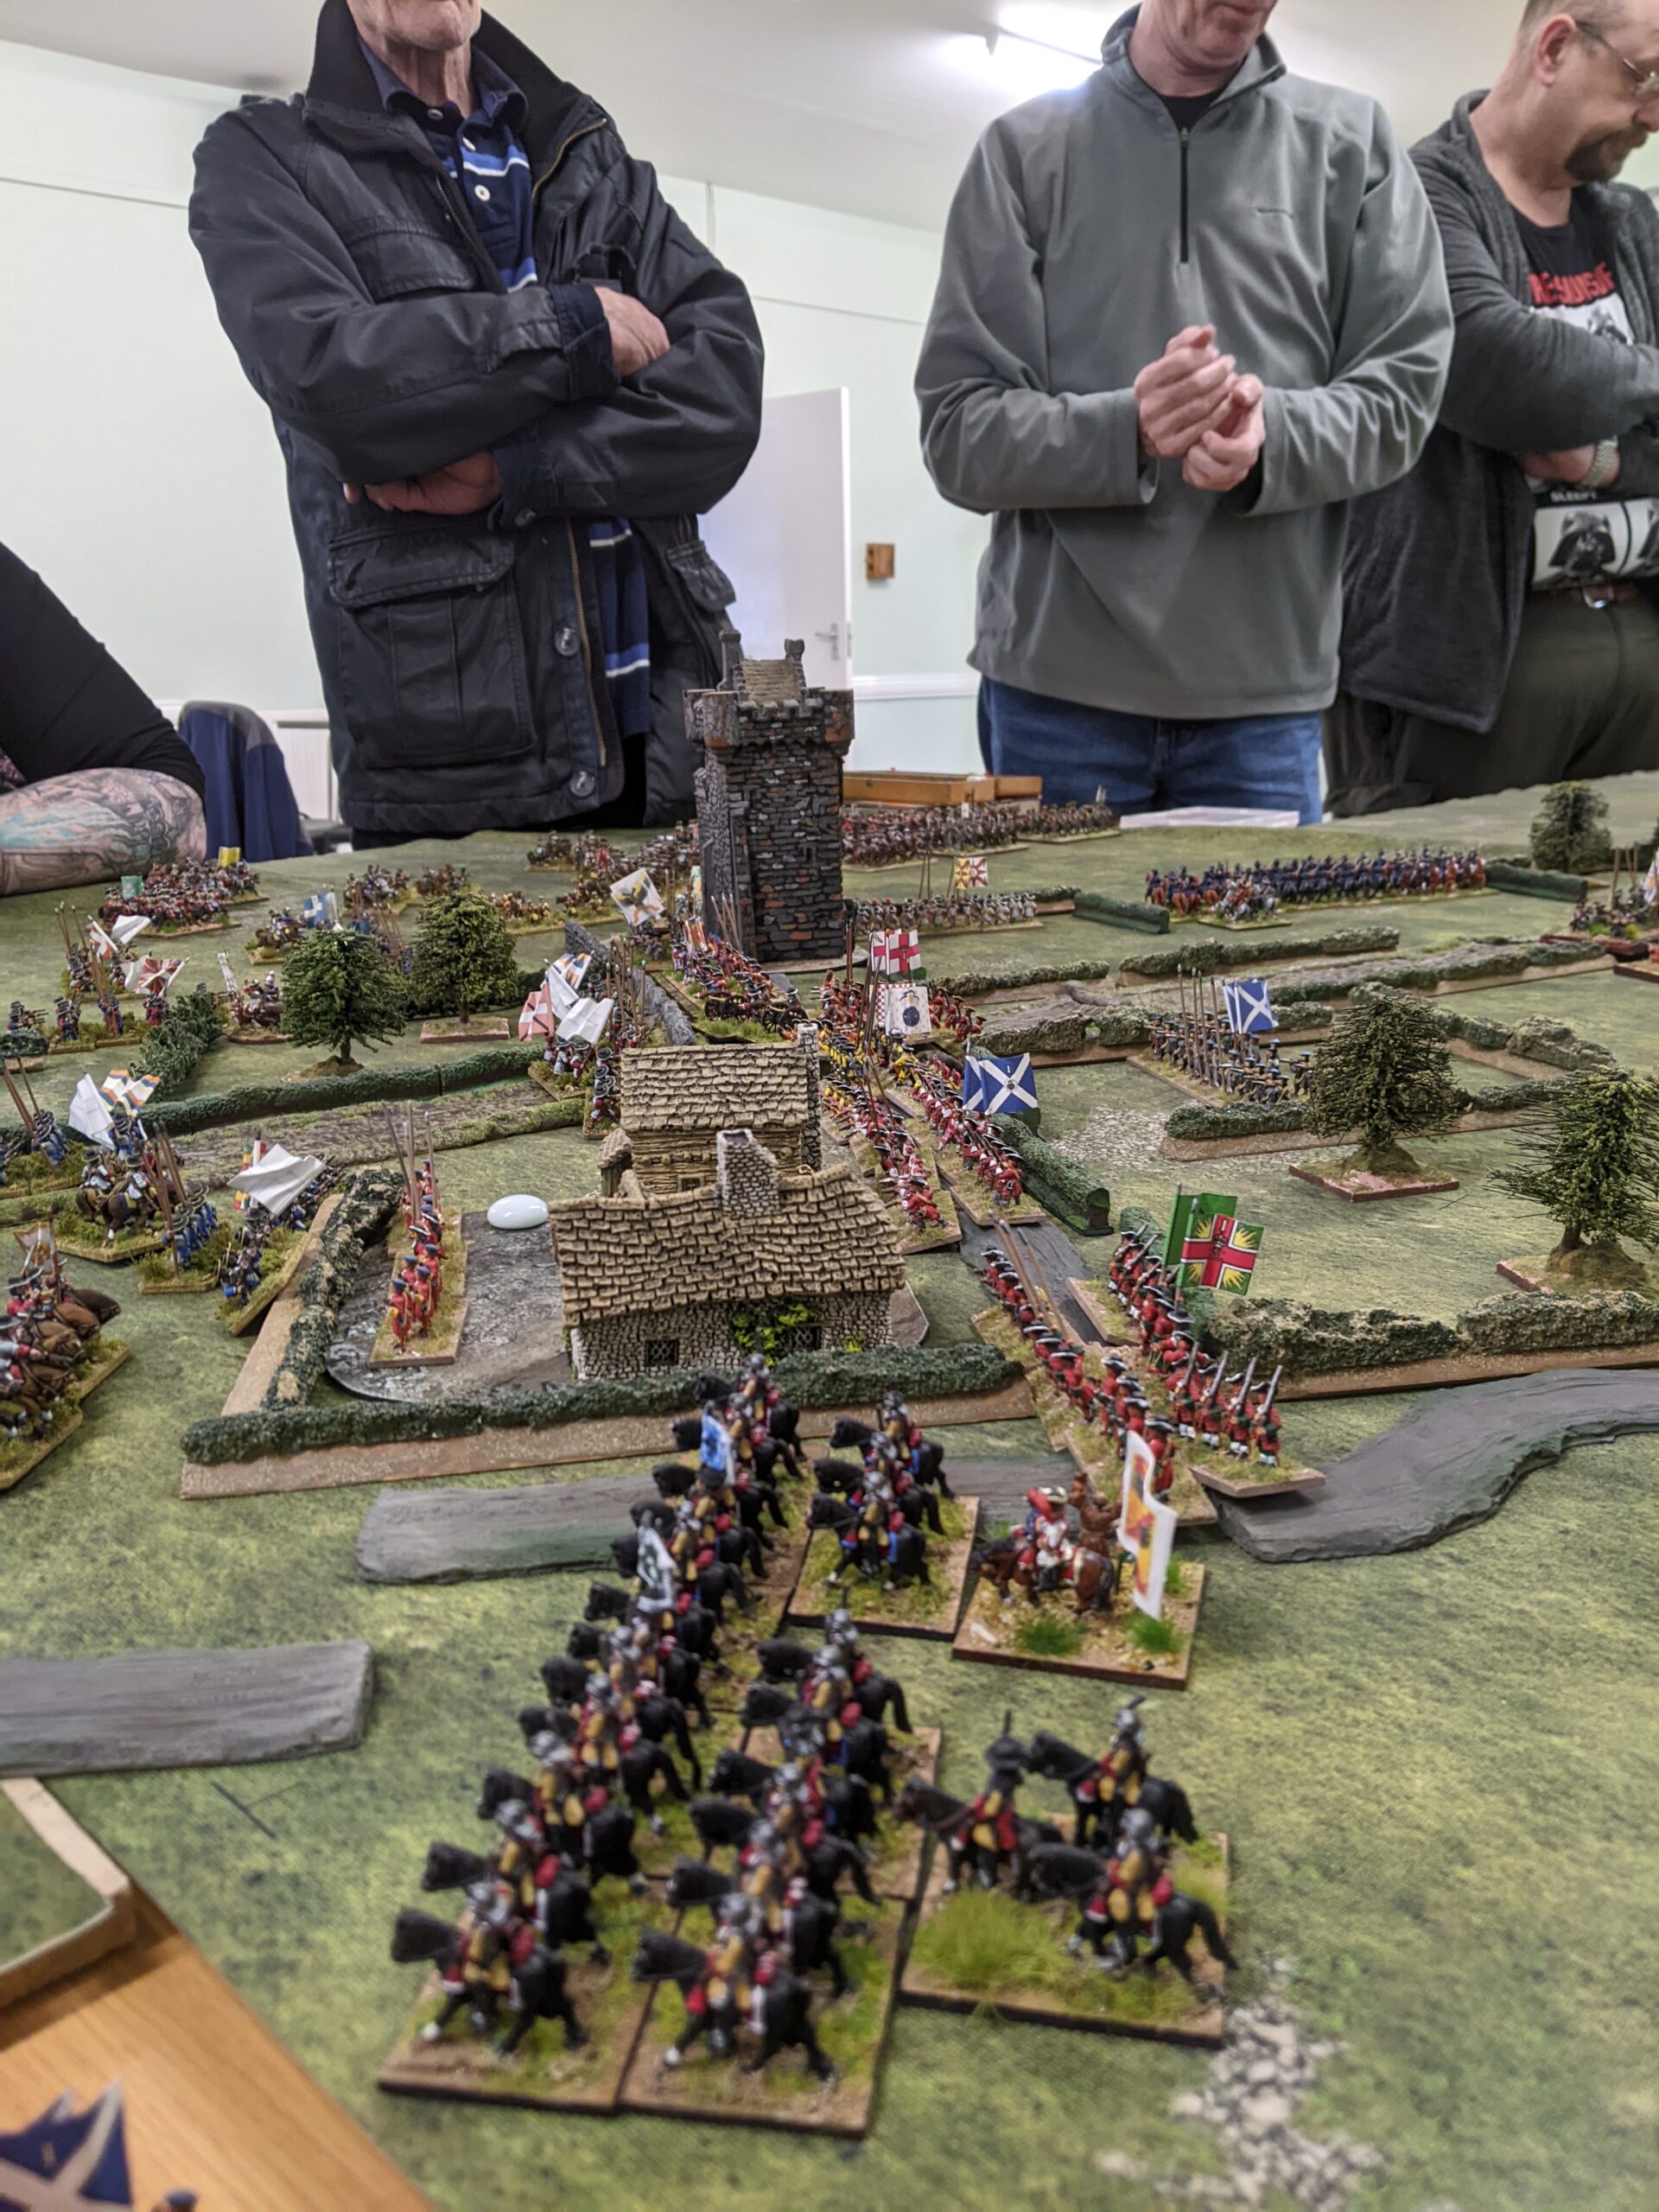
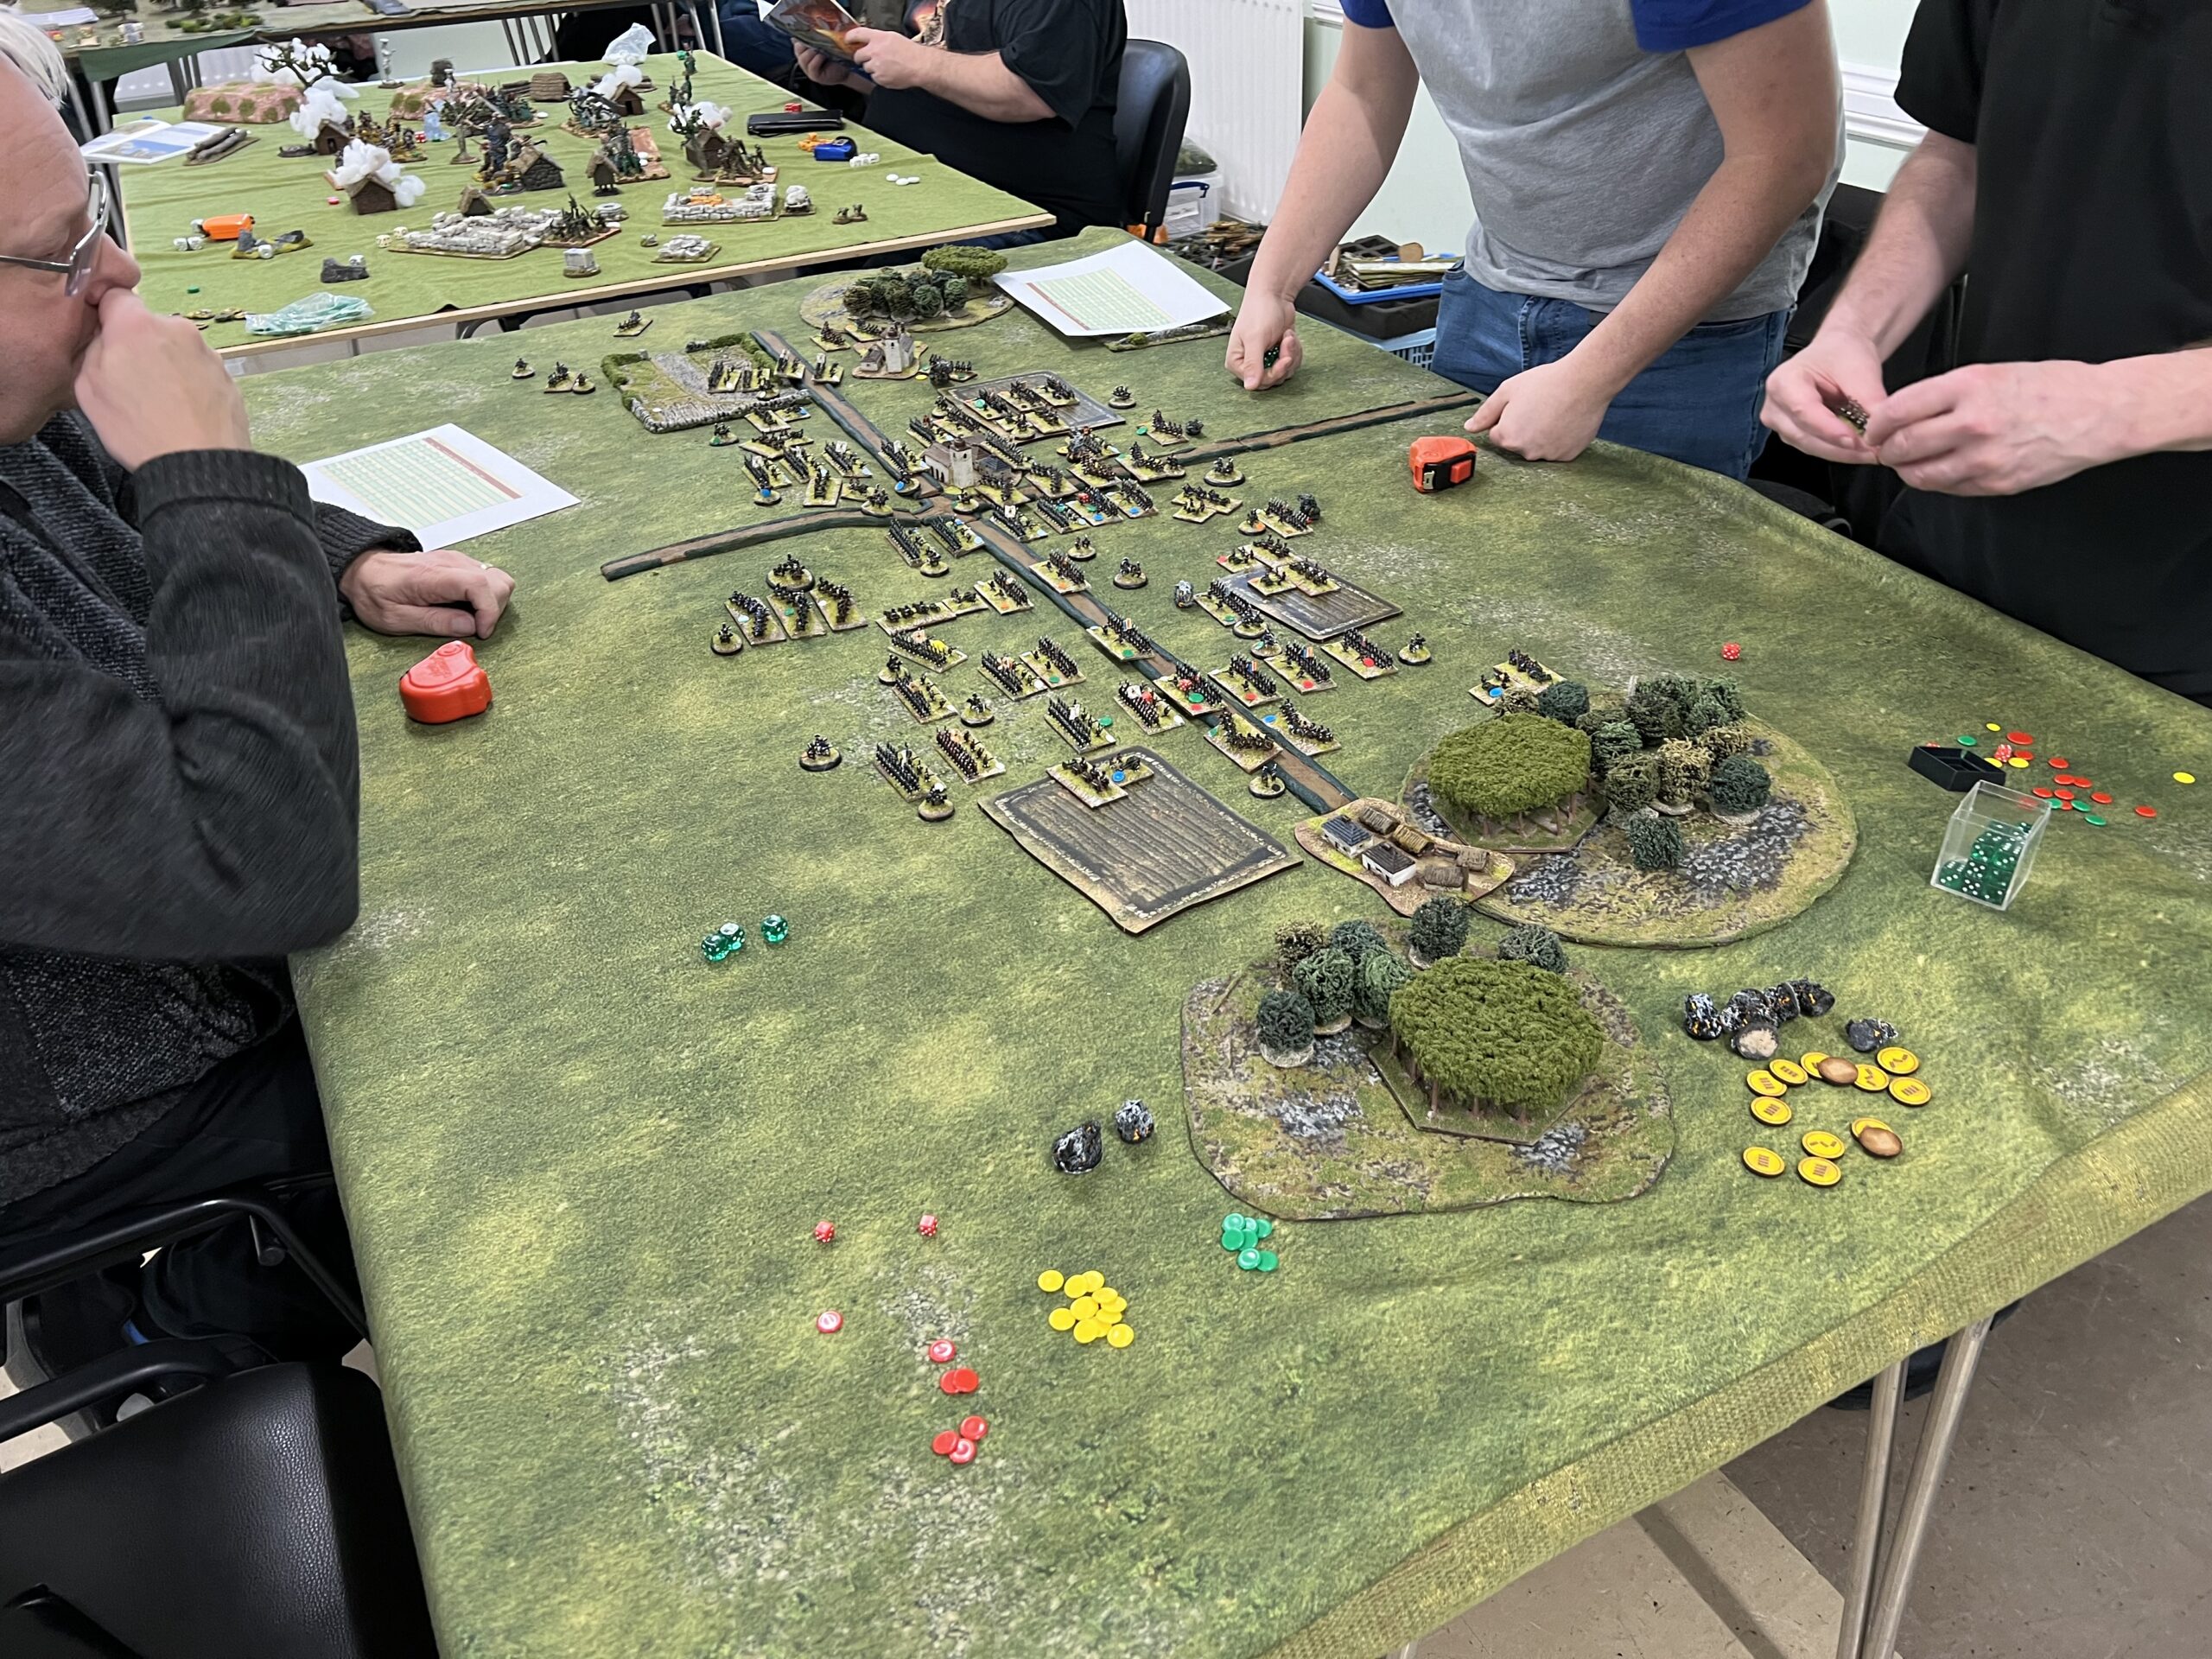
The Allies baggage train has been moved off the main road to the relative safety behind the woods. The Allies’ second line of defence can be seen still largely holding, although the French did eventually break through around the castle. On the right, the Allies’ Spanish cavalry is hastily forming up to try and block the arrival of more French cavalry who seem to be heading for the Allies’ baggage and the rumoured 600,000 guilders it contains!
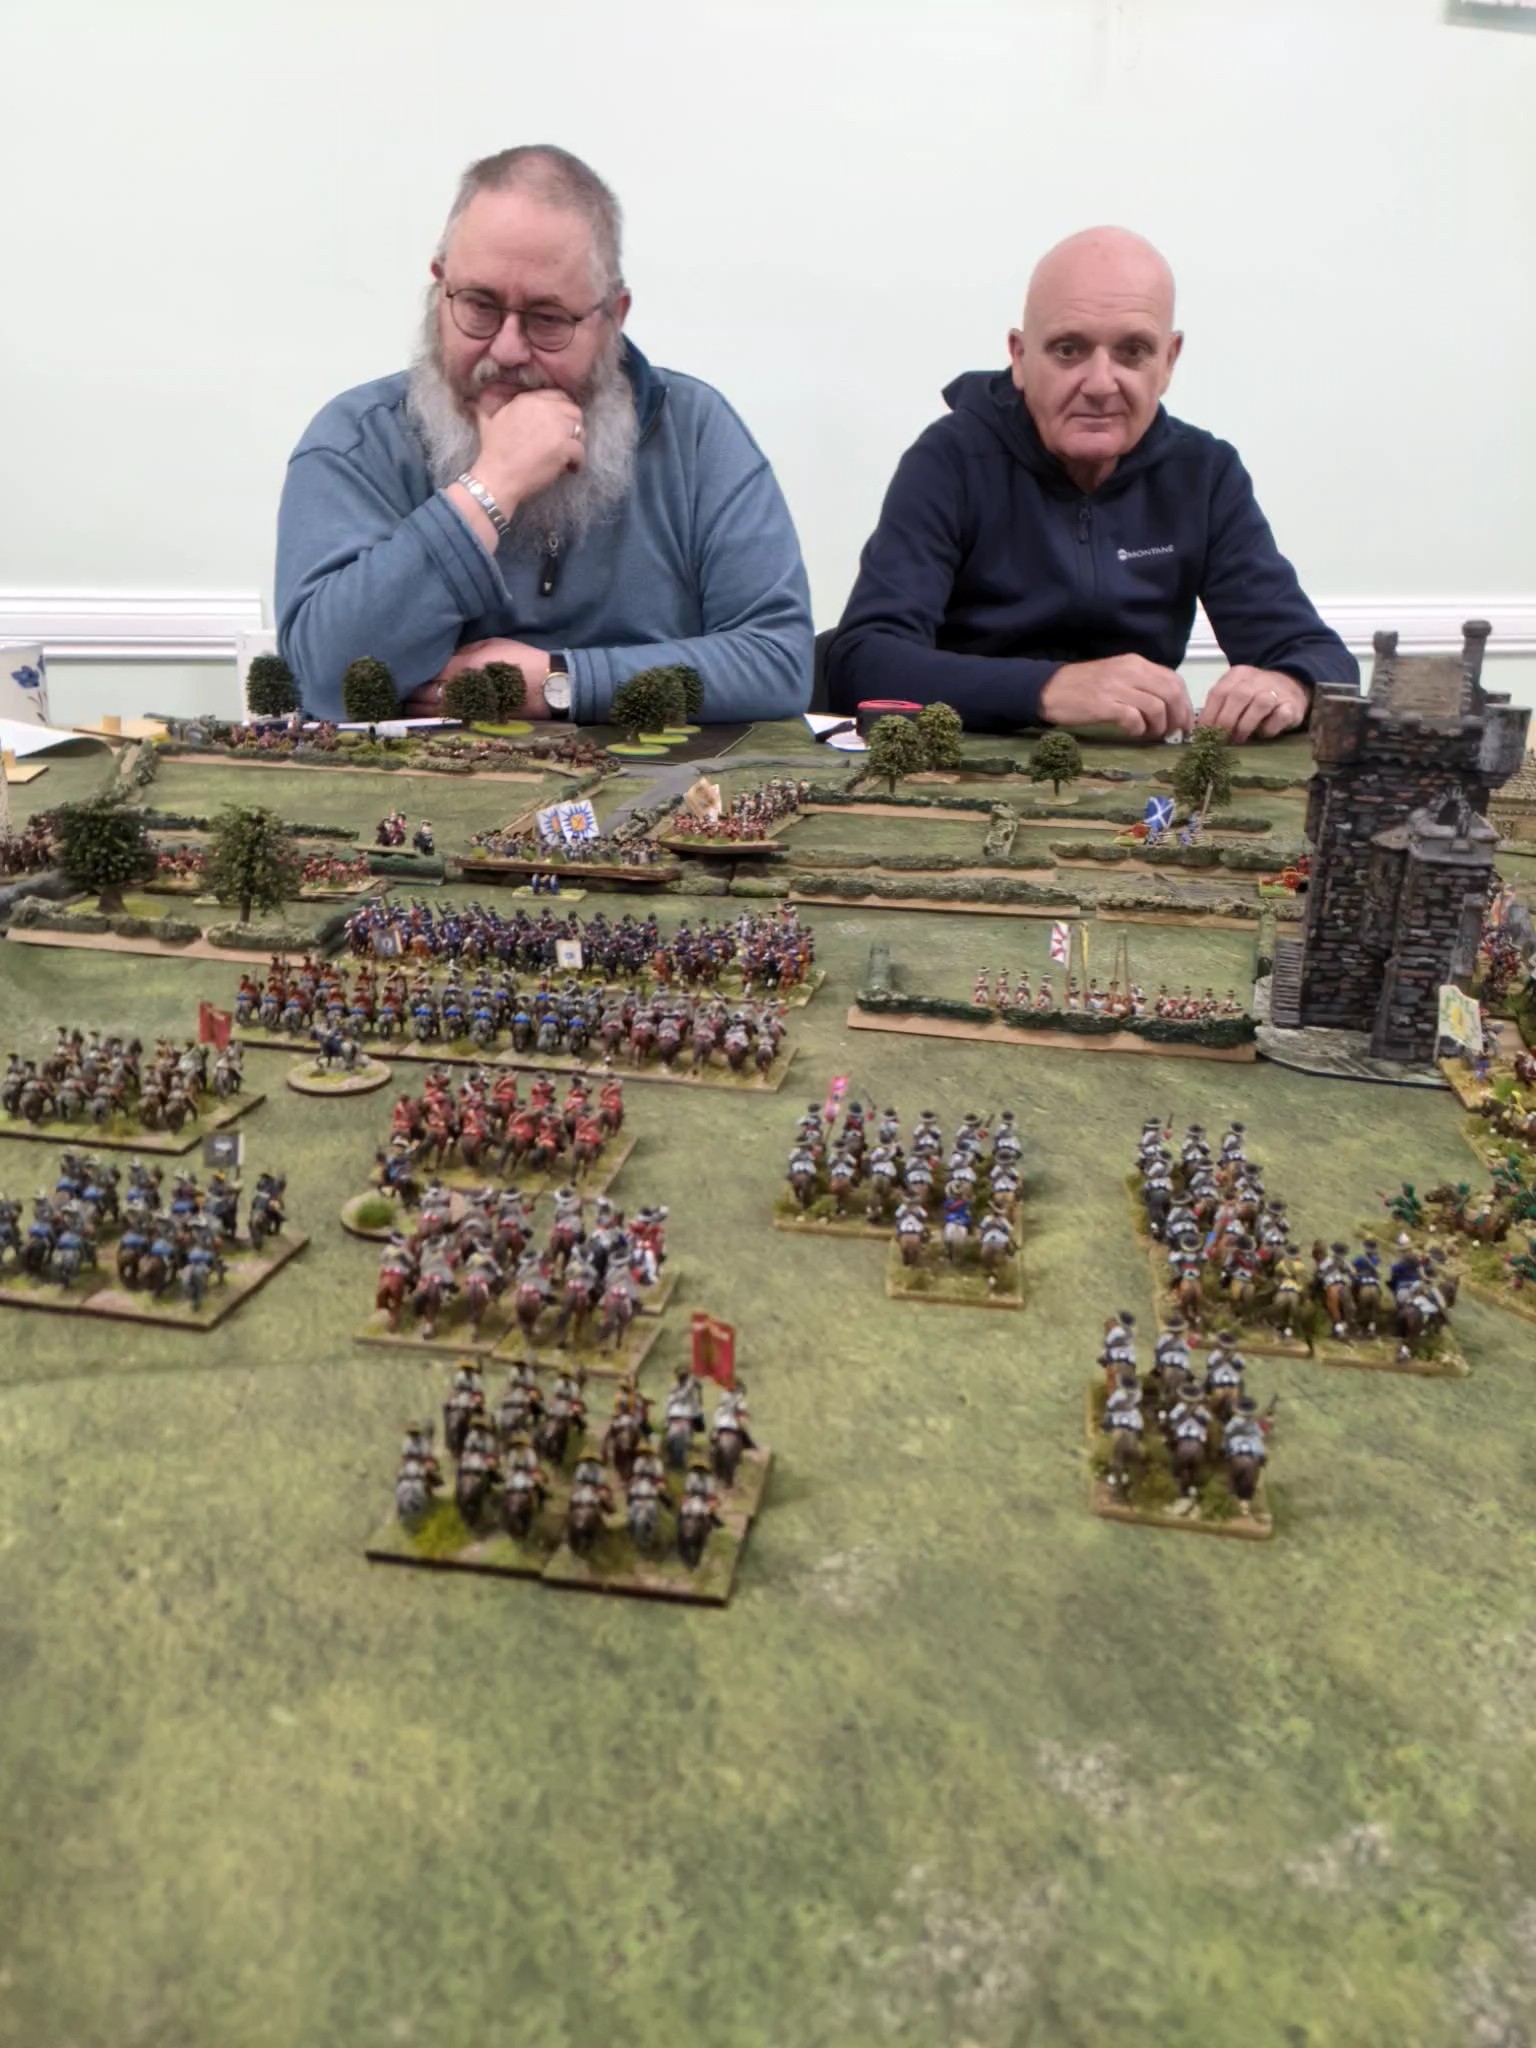
The Spanish cavalry under Simon G have formed a good defensive line but are outnumbered by the French cavalry under Luxembourg. Nigel and Pete ponder on what is to come, Pete again with that supreme air of confidence. Heroically they rout two French units and also manage to kill Luxembourg. However they lose one unit themselves, and the rest of the French cavalry seem unconcerned over the loss of their general (no doubt thinking they will have a greater share of the spoils with him out of the way).
Time was fast running out for the day’s play and we had barely reached the main Dutch defensive line around the monastery of St Nicholas and the town of Fayt. We had time for one assault by the main French infantry command that had finally arrived but this was easily beaten back by the Dutch infantry. The French cavalry had not made much more headway and were now faced with an organised baggage guard. And that’s where we ended it with the Allies more or less holding their lines and even managing to save their baggage train.
Hopefully, everyone involved had a good day gaming. Apologies to any hardened gamers of this period who may notice a few units posing as something they were not!
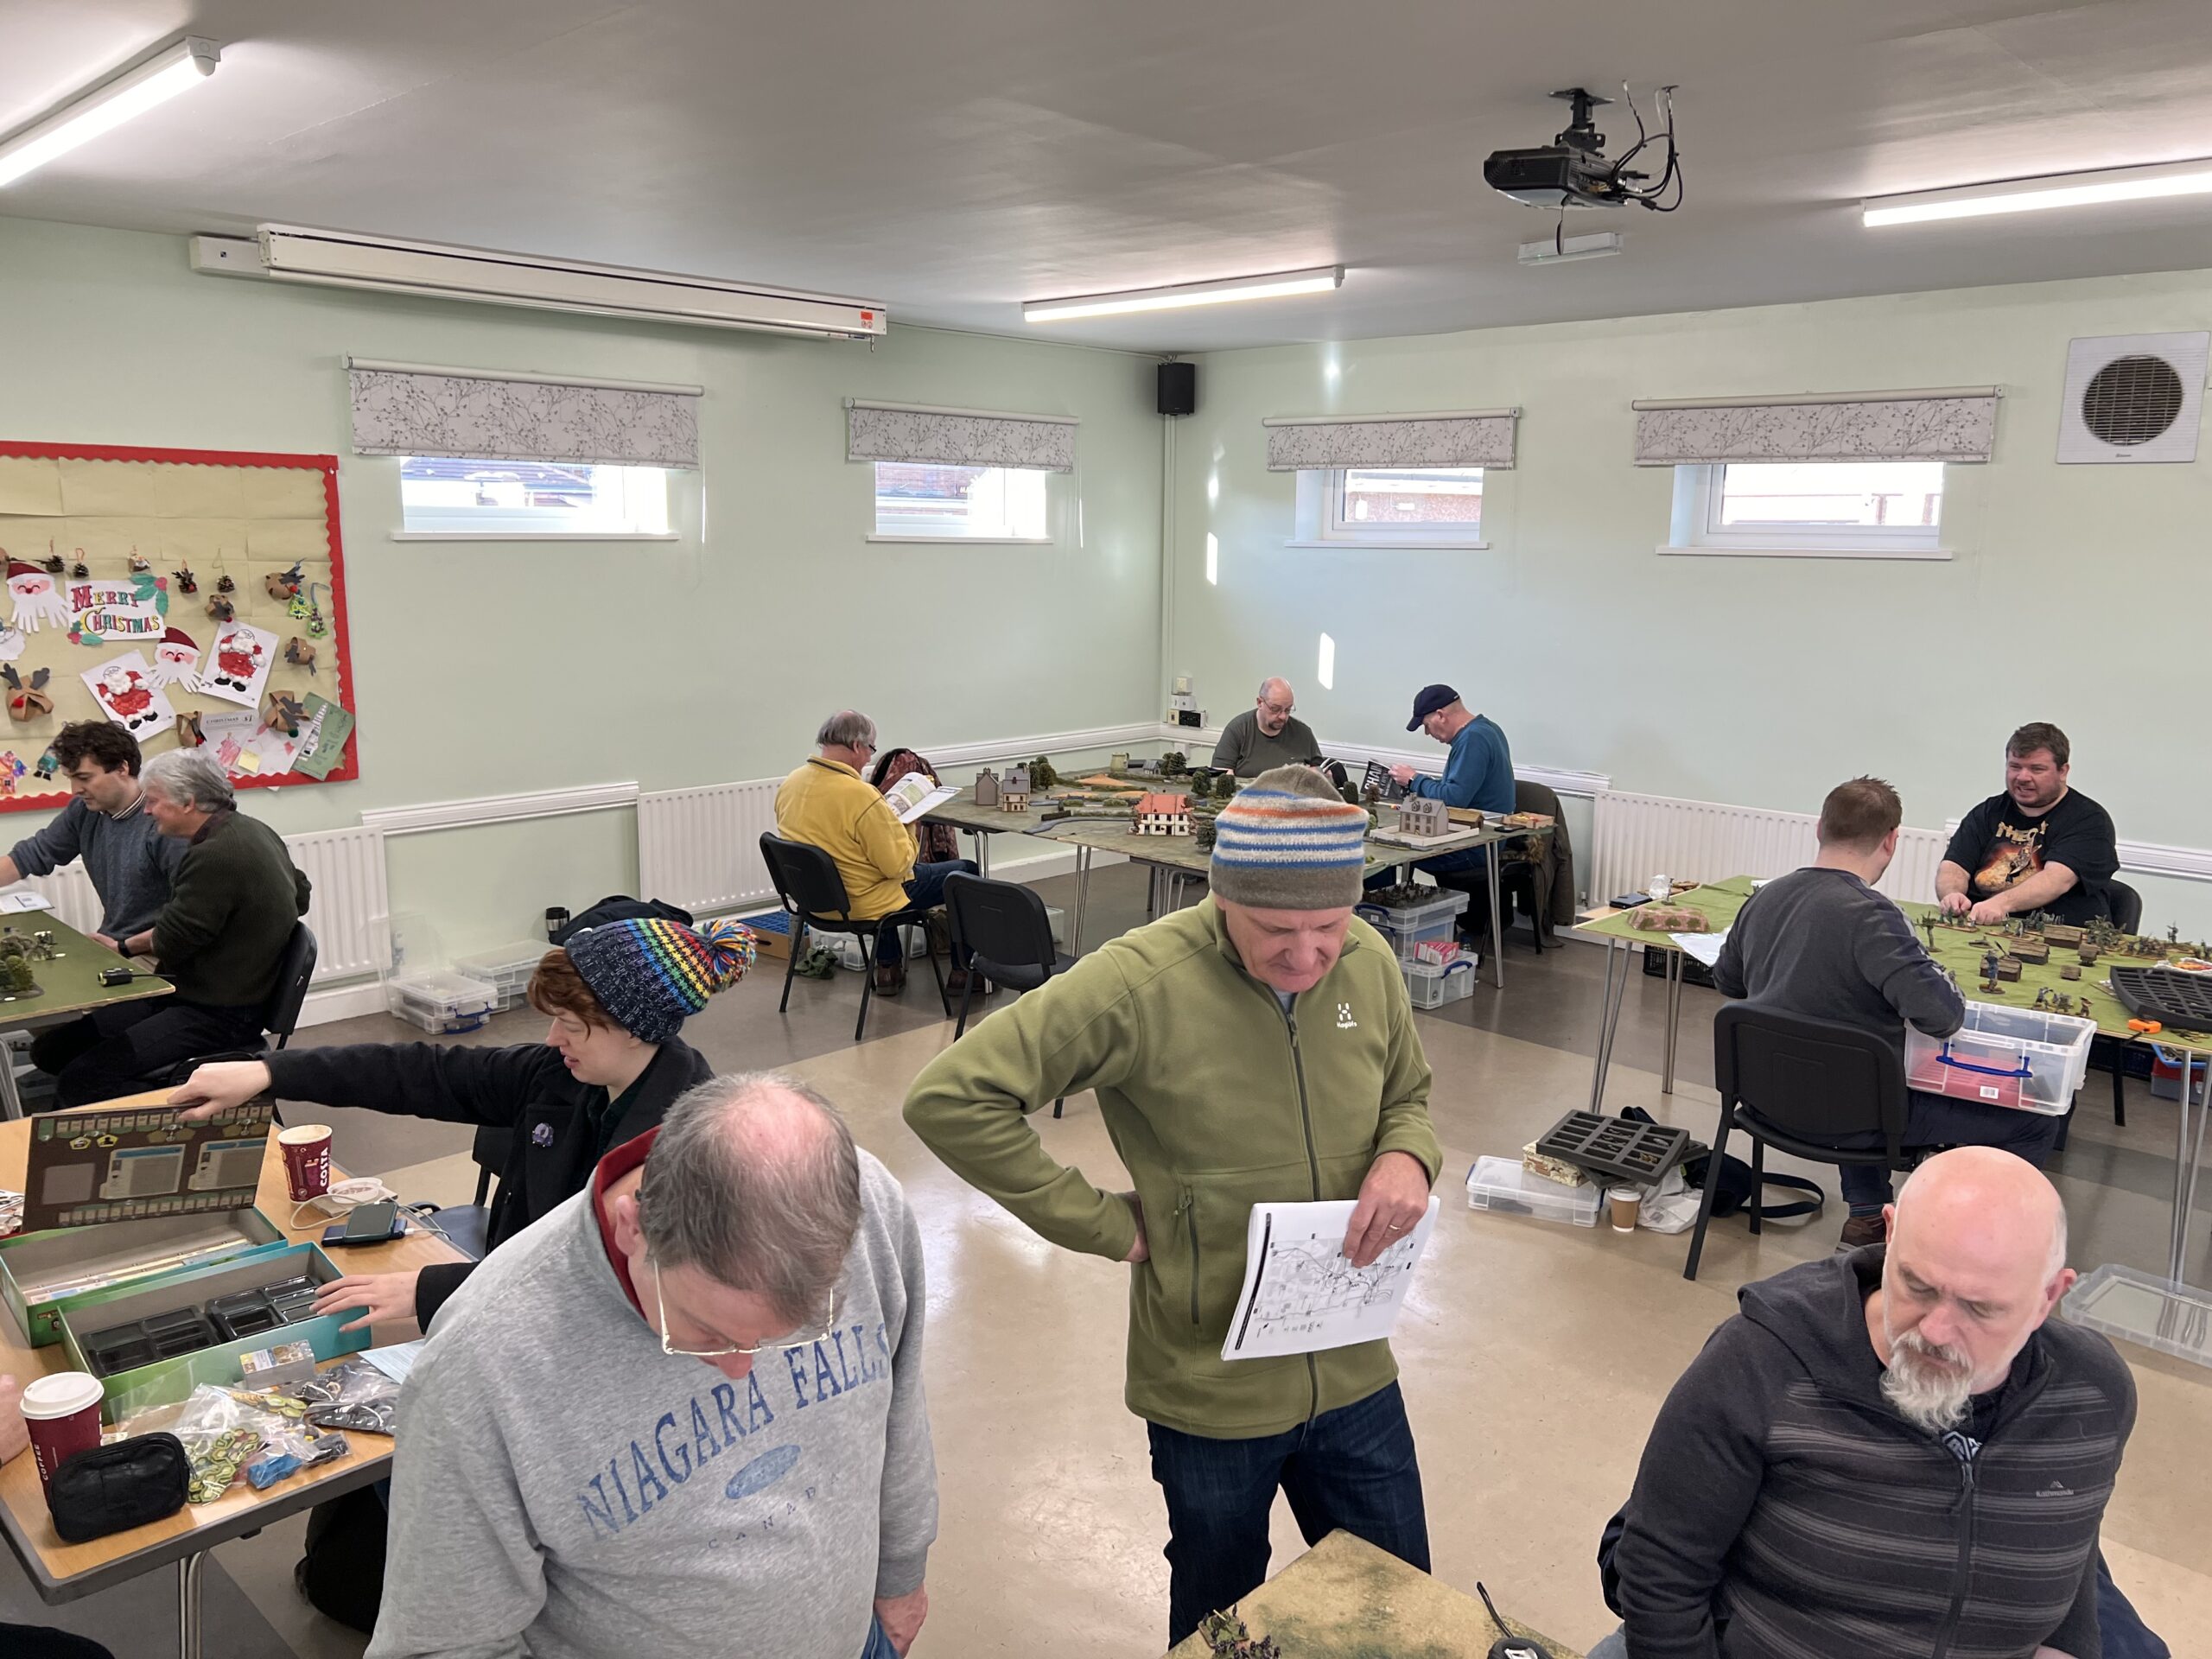
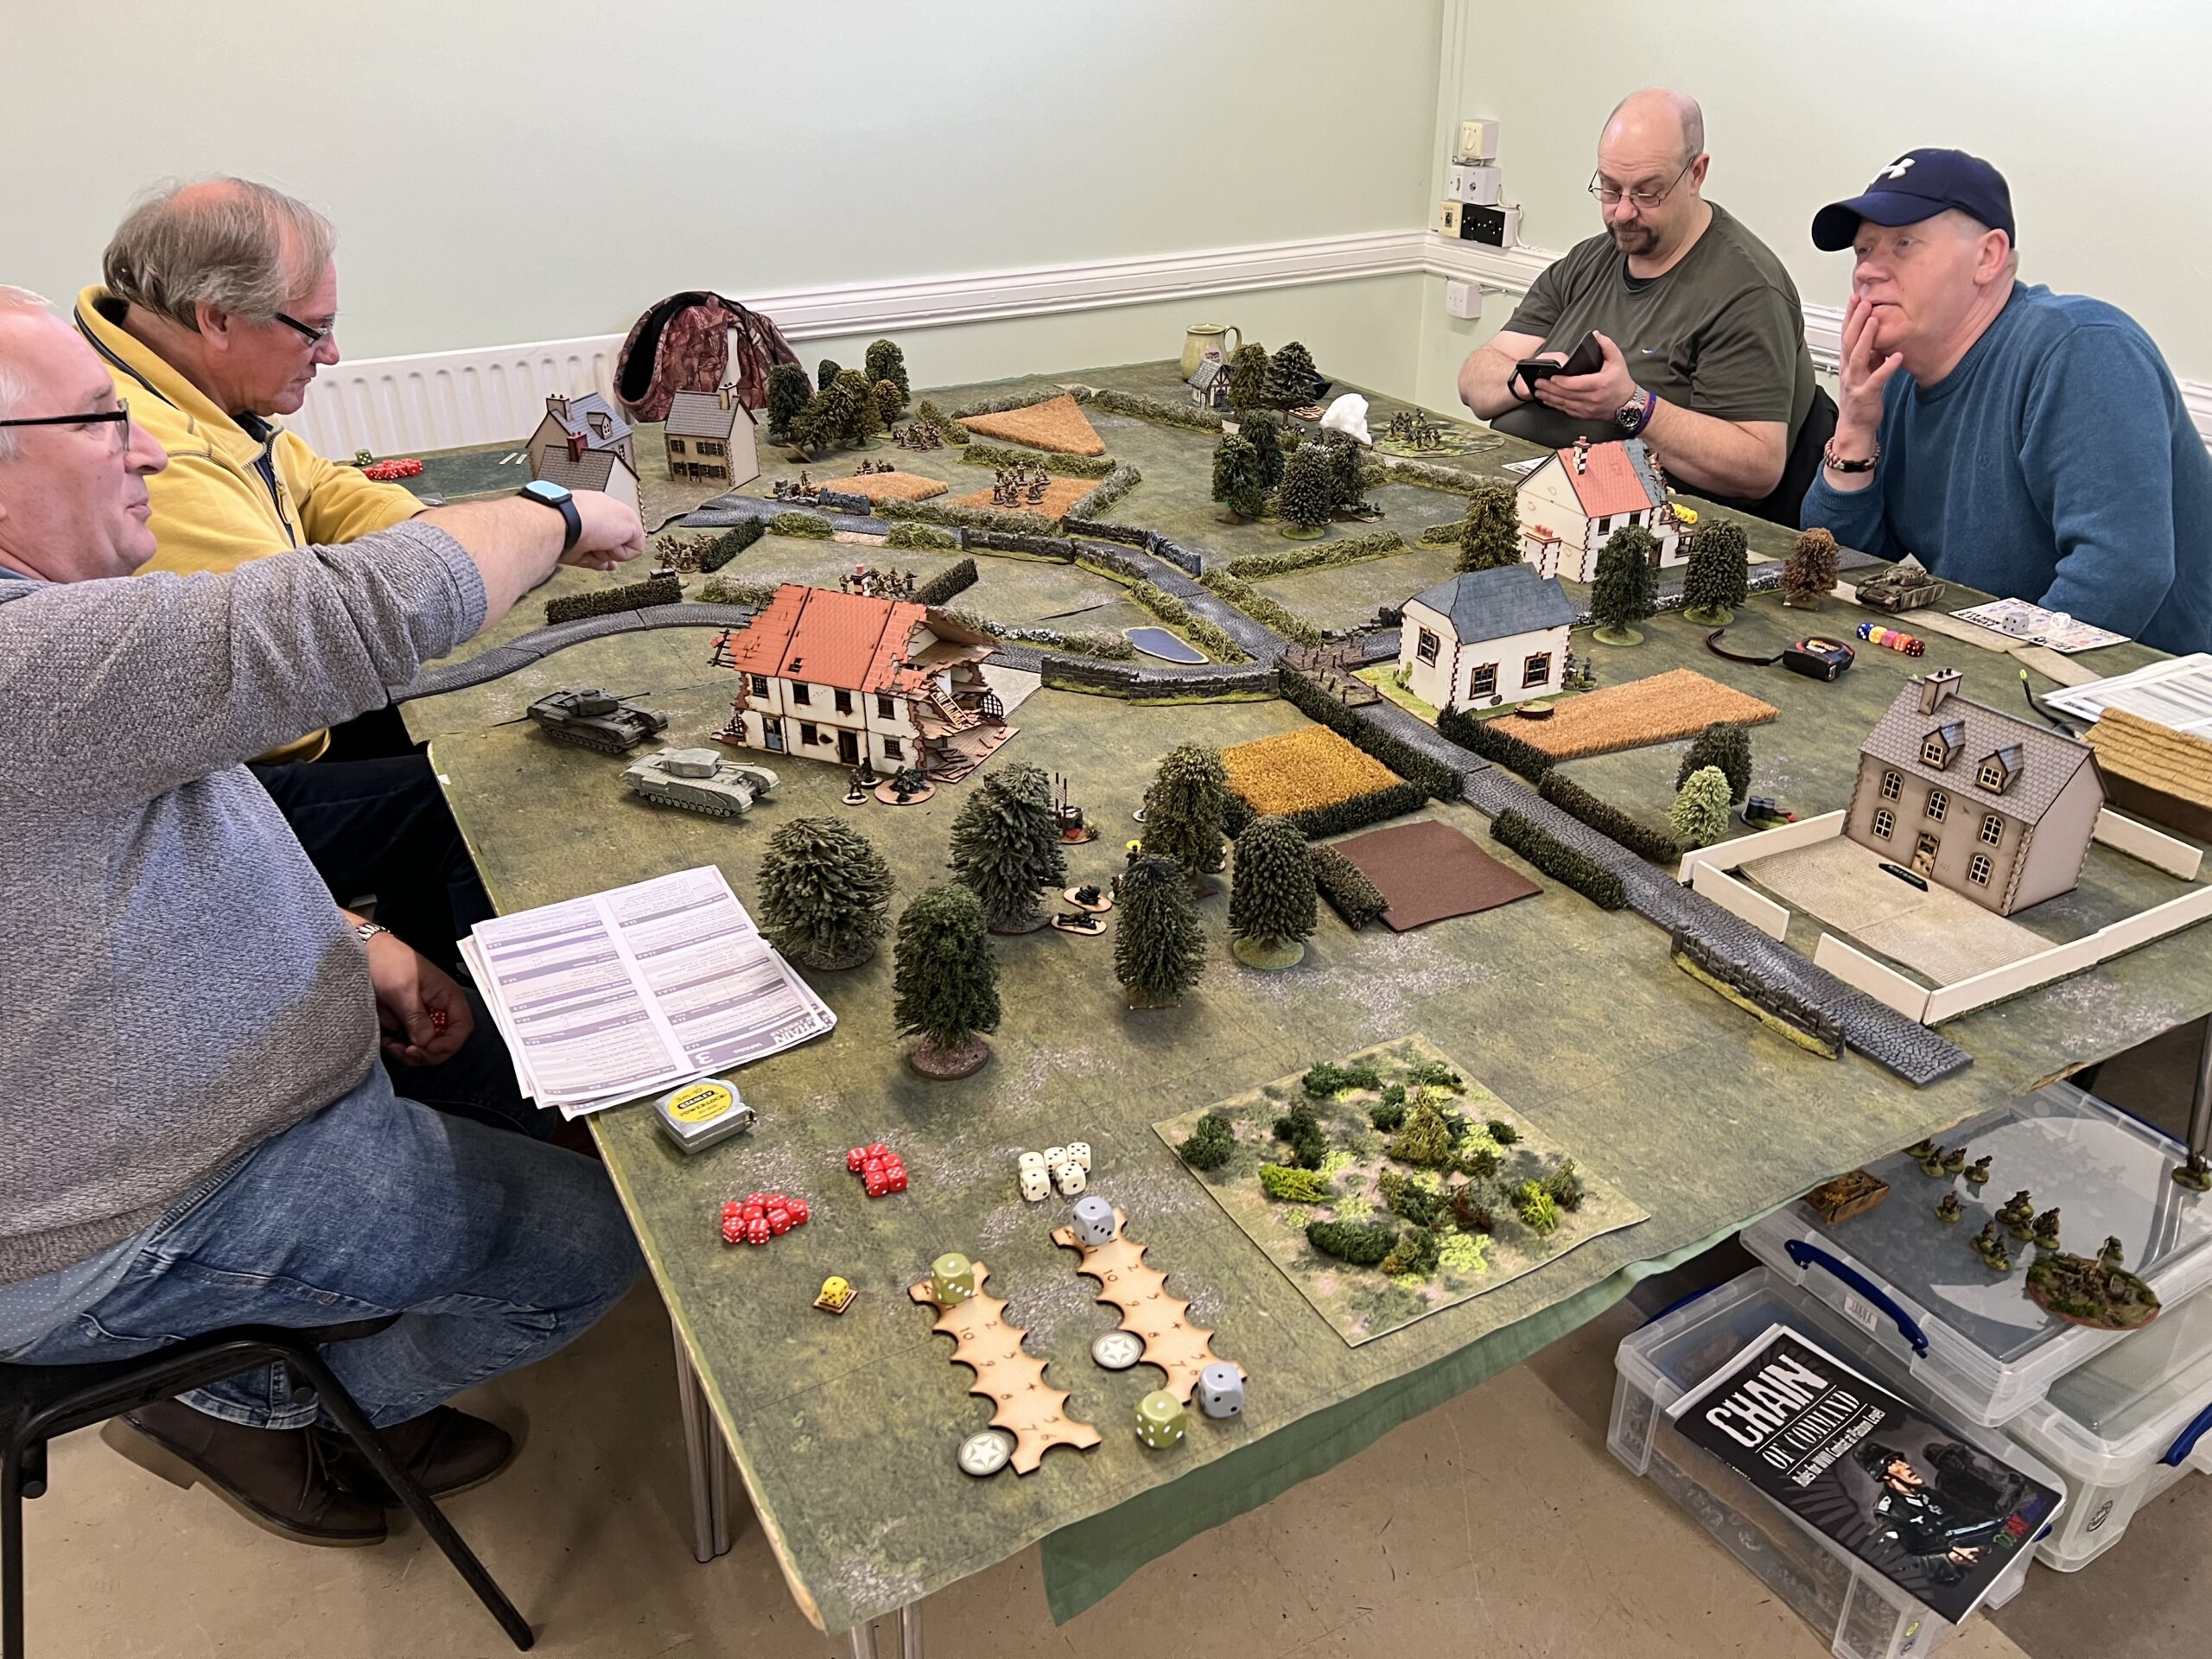
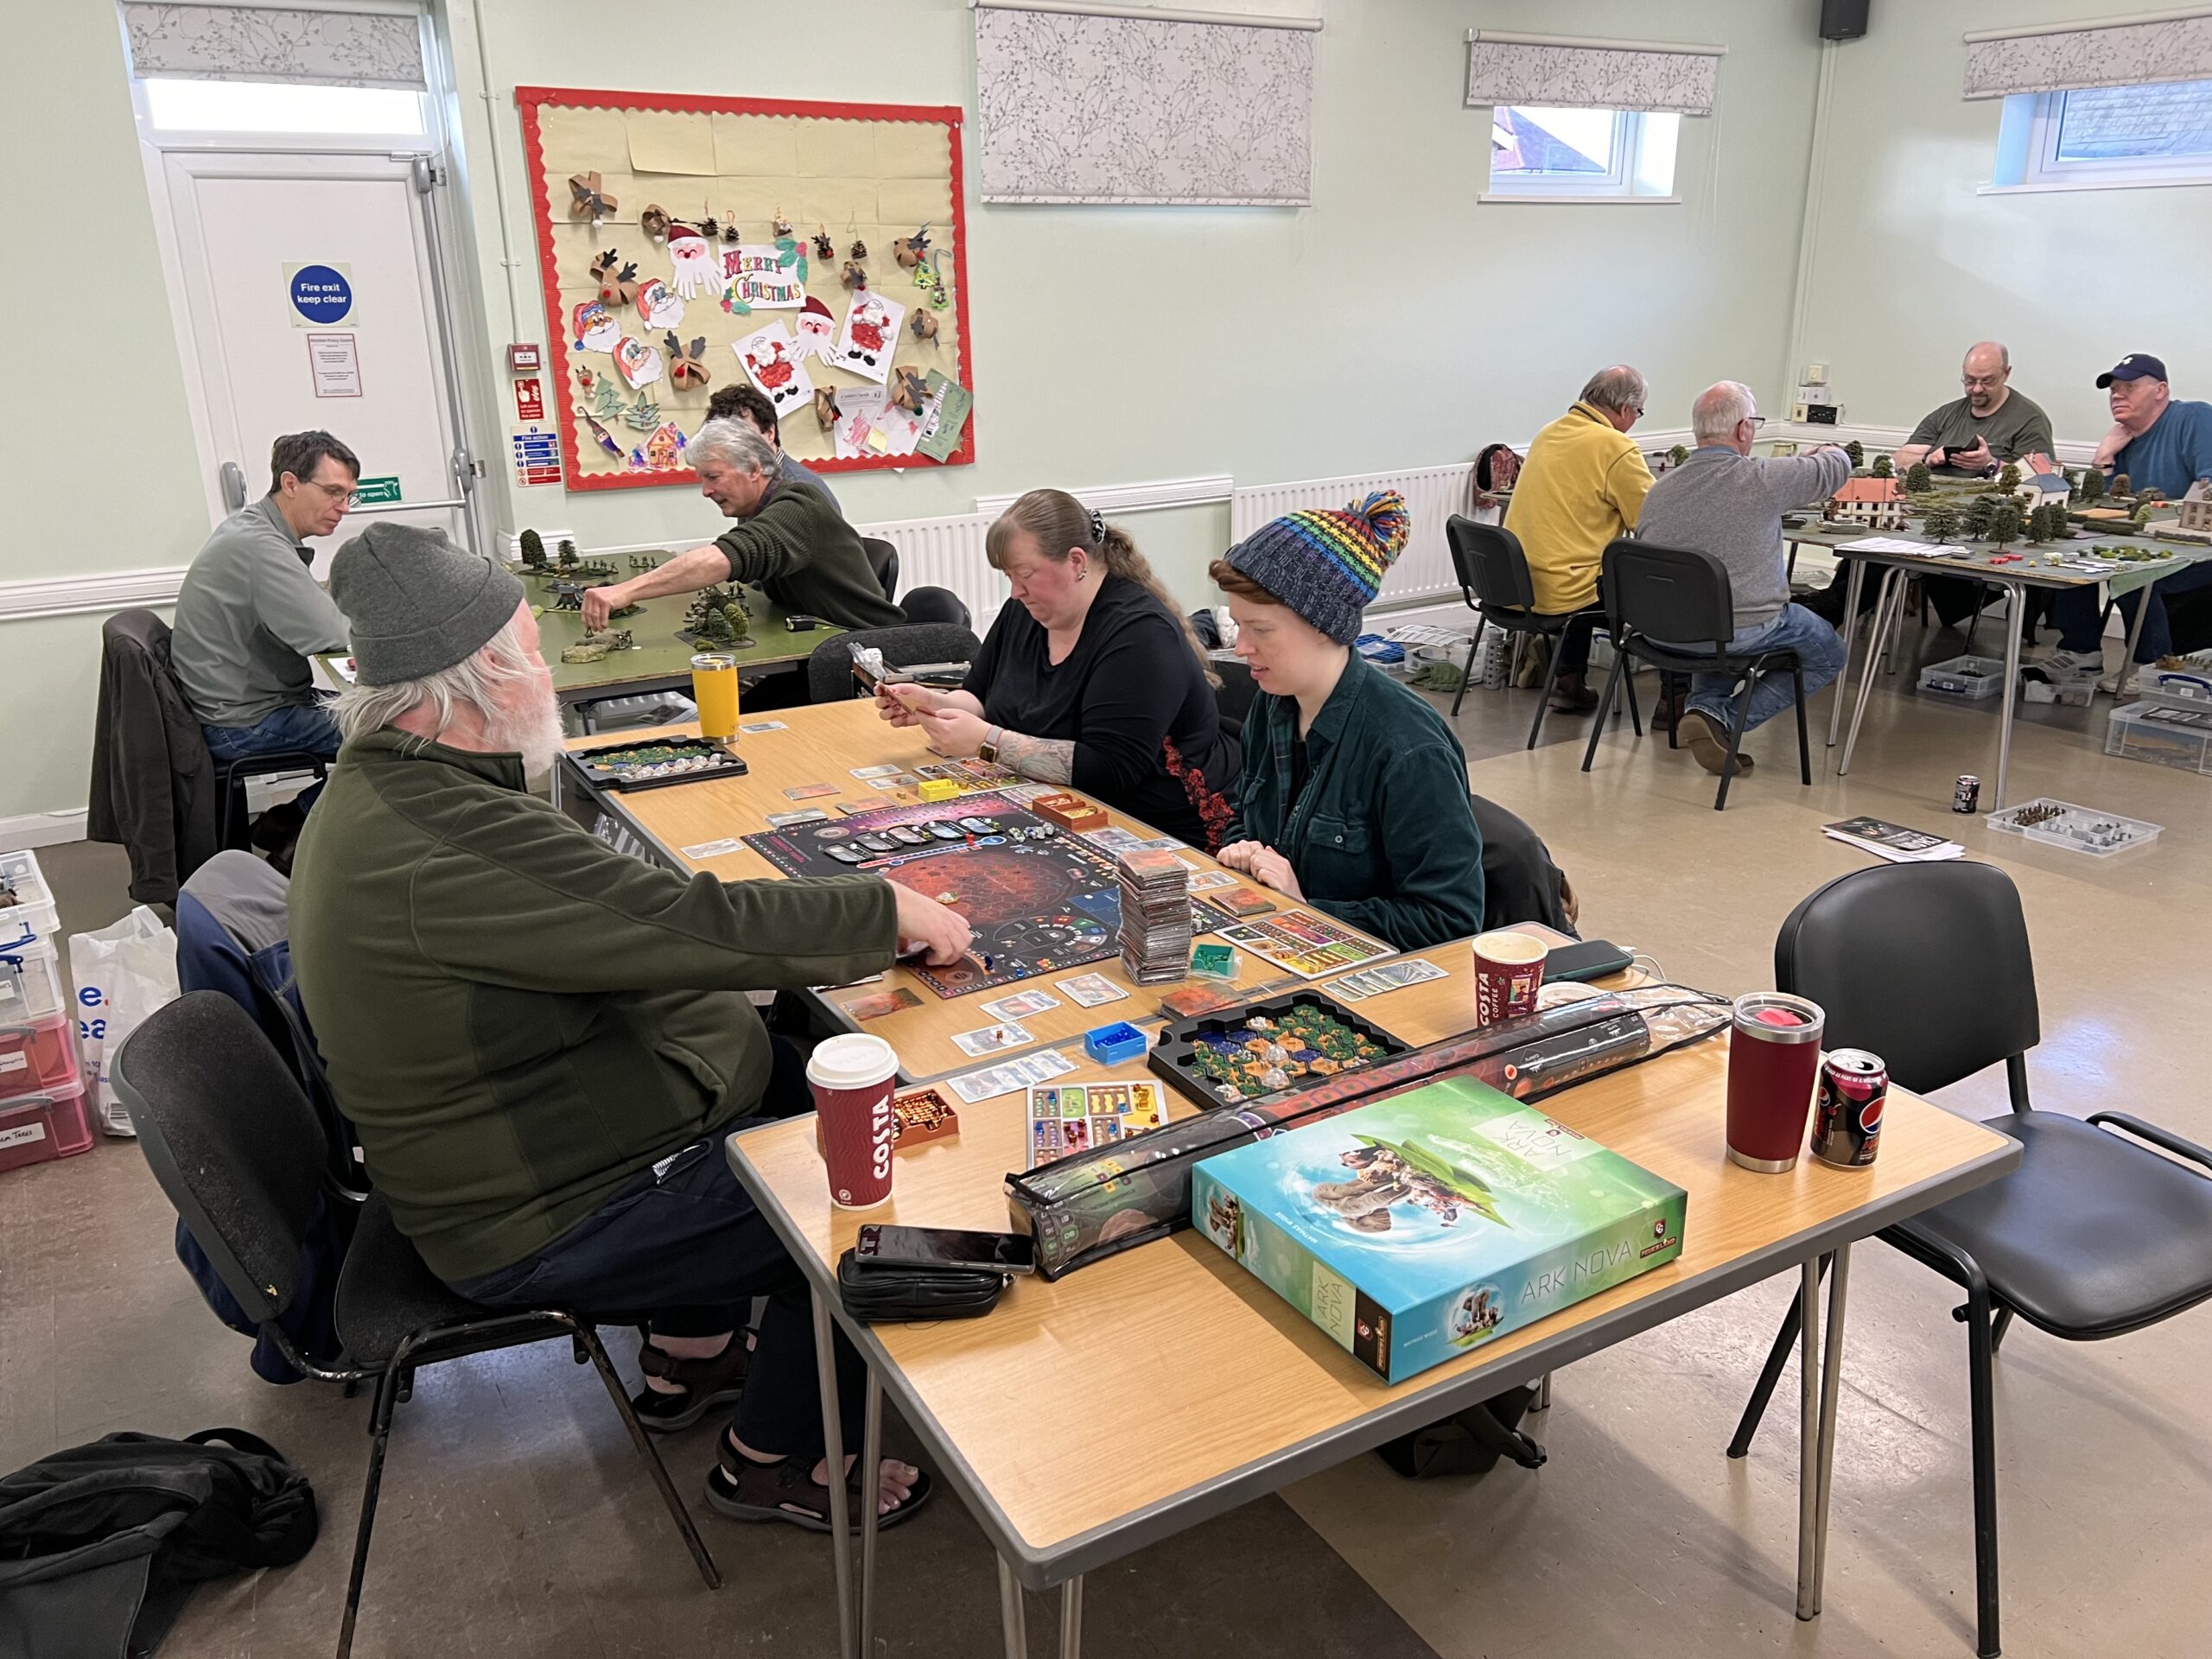
We had a one day game on Sunday the 7th Jan. The turn out was great and there were 6 or 7 games running. Thanks to all for coming along.

But here is a gallery of some of the games that ran on Sunday


The club has its 40th Anniversary this year and we are looking to set up another one-dayer in April
Battle of Sekigahara, (Oct. 20, 1600), in Japanese history, conflict that established the hegemony of the Tokugawa family, a hegemony that lasted until 1868.

The chief contenders for power in Japan at this time were Tokugawa Ieyasu (Red markers in the game) and Ishida Mitsunari (Blue markers in the game), both of whom were members of a delicately balanced oligarchy that had been established by the former national leader Toyotomi Hideyoshi to keep Japan united under his descendants. When Hideyoshi died leaving only an infant son, Toyotomi Hideyori, to succeed him, Ieyasu, as head of the regency council for Hideyori, began to assume power. Ishida, another member of the council, challenged him, and two great armies of feudal lords faced each other at Sekigahara, a strategically located narrow pass between the two plains at Lake Biwa and Nagoya. Ishida and his allies were defeated; he was executed; and most of the lords who had supported him were either banished or deprived of their domains.
Immediately after his triumph, Ieyasu began a redistribution of fiefs to consolidate his rule, establishing the machinery for the 265-year Tokugawa shogunate, or military dictatorship, of Japan.
We refought this battle as a one day game. As events would have it we ended up playing the game twice over the course of the day.
To avoid it being a straight recreation of the historical events and make it more of a game I changed some of the events that occurred to give both sides more of a chance. The mechanism for this was a ‘pot’ of dice that would accuse each turn. Each time that each side did something positive then a dice would be added to the pot. The positive events were –
Each turn 3 dice would be added as a ‘default’. This would always give a 50% of each player being able to remove a counter each turn)
At the end of each turn the pot of dice would be emptied and thrown, each 6 rolled could be used to increase the ‘activation’ of troops that at this point were taking no part in the battle. Each pool of reinforcements had a pool of counters indicating there indecision or tardy action. Each 6 rolled could remove one of these counters. When all the counters were gone then those troops would activate.
Outside of the main battle we had the following re-enforcements.
Loyalist Turncoats. (4 red, 4 blue, 2 white counters)
In history the defection of Hideaki was the key event of the battle. I allowed an even chance that he would join either side. Therefore it had 4 loyalist(blue), 4 rebel (red) and 2 white. The white counters could be removed by either player but could only be removed when all the counters of their own colour was gone. When the last white counter was removed then Hideaki would activate under the command of the team removing the last counter
Ieyasu (5 red army counters, 2 red general counters)
To simulate his inaction on the day he had 7 counters to be removed. 2 to get the great man to join to fray personally and 5 to commit his troops to battle
Hidemoto (6 blue counters)
This was a deviation from history as Hidemoto took no part in the battle as he was deployed on the far side of Mount Nangu, threatening the rear of the rebel army and was the back door of the trap that Mitsunari was trying to spring. The removal of the hist counters represented his movement back across the mountains to bolster the loyalists. This was added just to give the loyalists more of a level playing field, and try an capture a feeling of the ‘unknown’ that occurred in the battle.
There were a couple of minor events too
Fukishima (1 red counter)
Representing his inaction following his slight after the honour of leading the attack was stolen by Naomasa
Yukinaga (2 blue counters)
Representing his inaction on the day
So a total of 12 each.
As the game started it would be a slow build up as each side would only get 3 dice, and events wouldn’t be triggered too quickly. As the armies engaged this pot of dice could grow up to 12 dice ,thus accelerating activation of troops on the side that were performing well.
The rules for battle were using the Field of Glory :Renaissance rules. There were a few tweaks that were made. The armies were drawn up from the orbats that are dotted around the internet and the maps and dispositions of the forces from the Osprey book. The combatants on each side were about 85K troops and we used a scale of 1 base = 500 troops (with a bit of rounding for flavour).
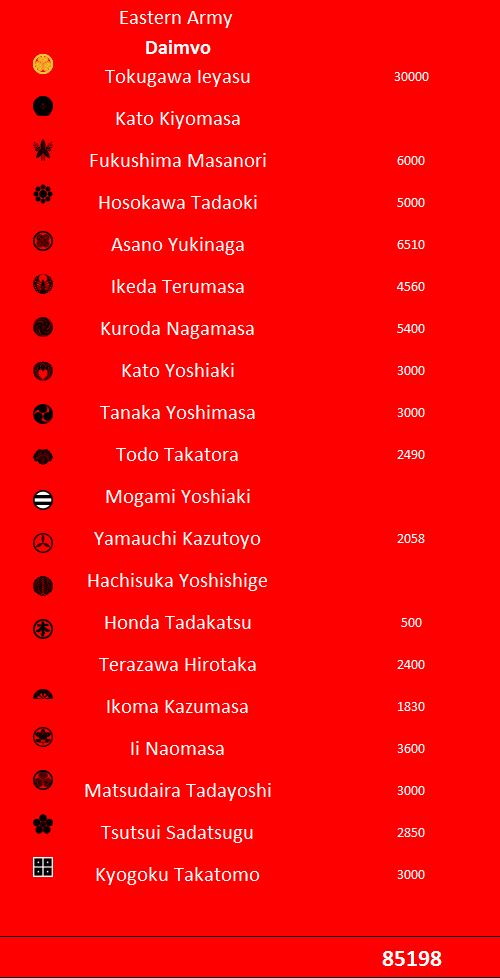
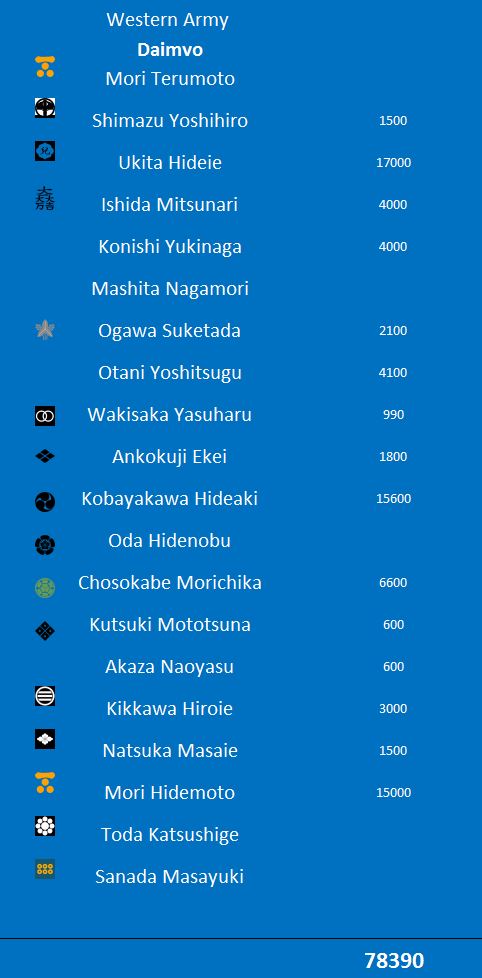
Each samurai lord would be represented on the battlefield (as a named flag) , mostly where a force was less than 4000 troops that would be a single battle group. I allowed the troops in the battle group to be mixed. So there was a representation of Samurai and Ashigaru spearman and Arquebusiers. The lord would be integral to the BG so it would always benefit from his ‘command’ – but not for the ‘fighting in the front rank bonus’. I also allowed a tweak for the spearmen to ‘protect’ the bow and arquebus in the BG. What that meant really was they there were very few POA in combats , as most troops were the same. It was kept simple to manage the 200+ bases per side that we would have to manage. The only chrome was that the samurai would re-roll the 1’s (being superior). Which just meant keeping those dice a separate colour. It seems to work well enough.
I allowed Arquebus to fire 4” and all the foot moved 3” as a rule.
The brief of the Loyalists started to enact the trap box the rebels in. Secondary was to keep the pass blocked and that Mitsunari would survive.
The brief of the Rebels was to break through the pass, and destroy the loyalist army.

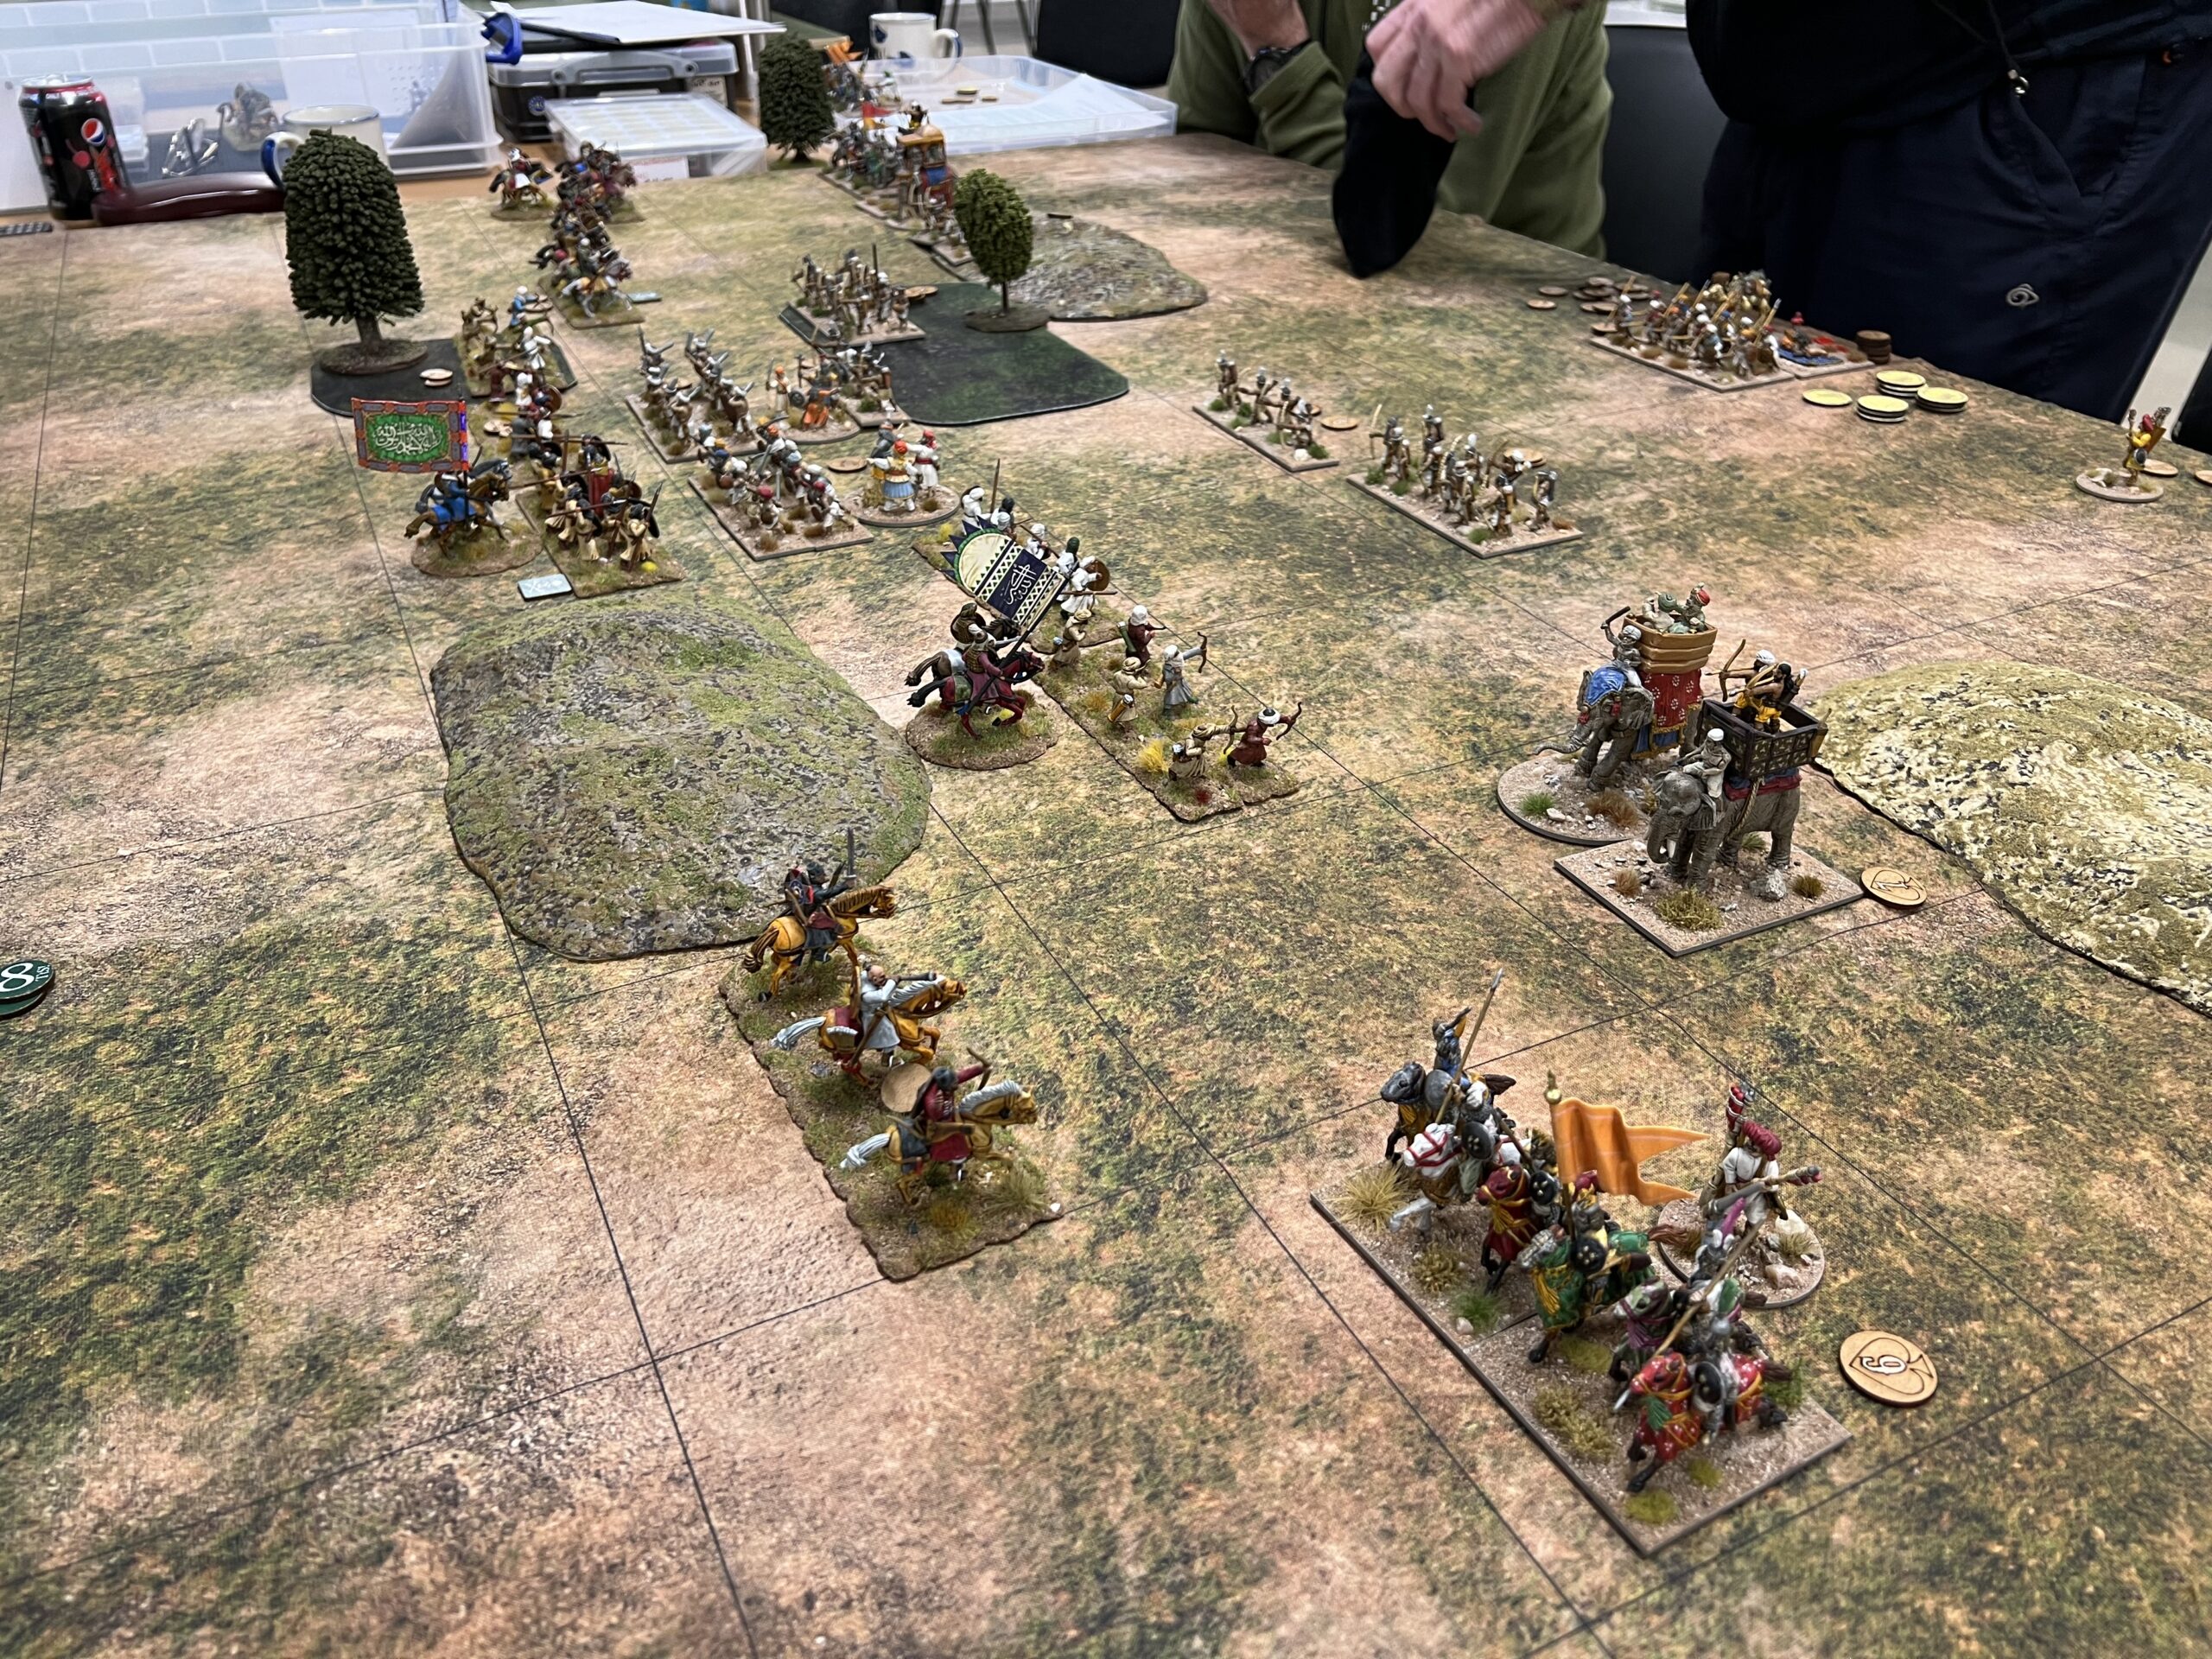
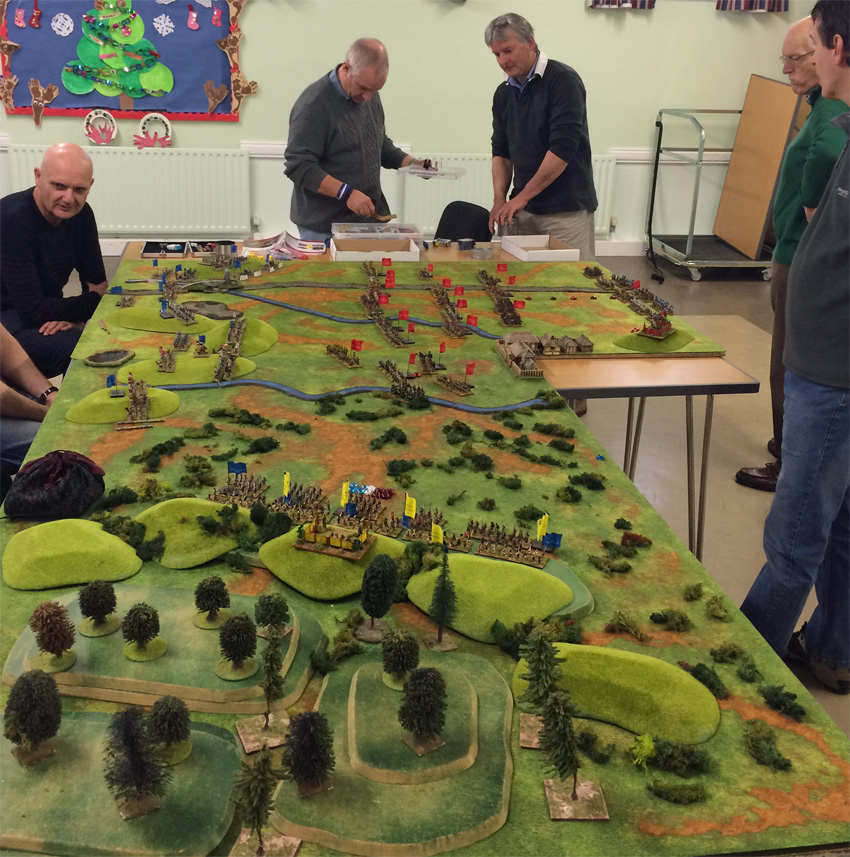
Game 1 with the troops array for battle. The table was a 10′ x 6′ L shape. You can just see Hidemoto on a separate table (behind Simon) making his way across the mountains
We ended up playing this game twice. The first one took just under 2 hours to play.
You can see here that the Hideaki turncoats flags turn yellow with indecision
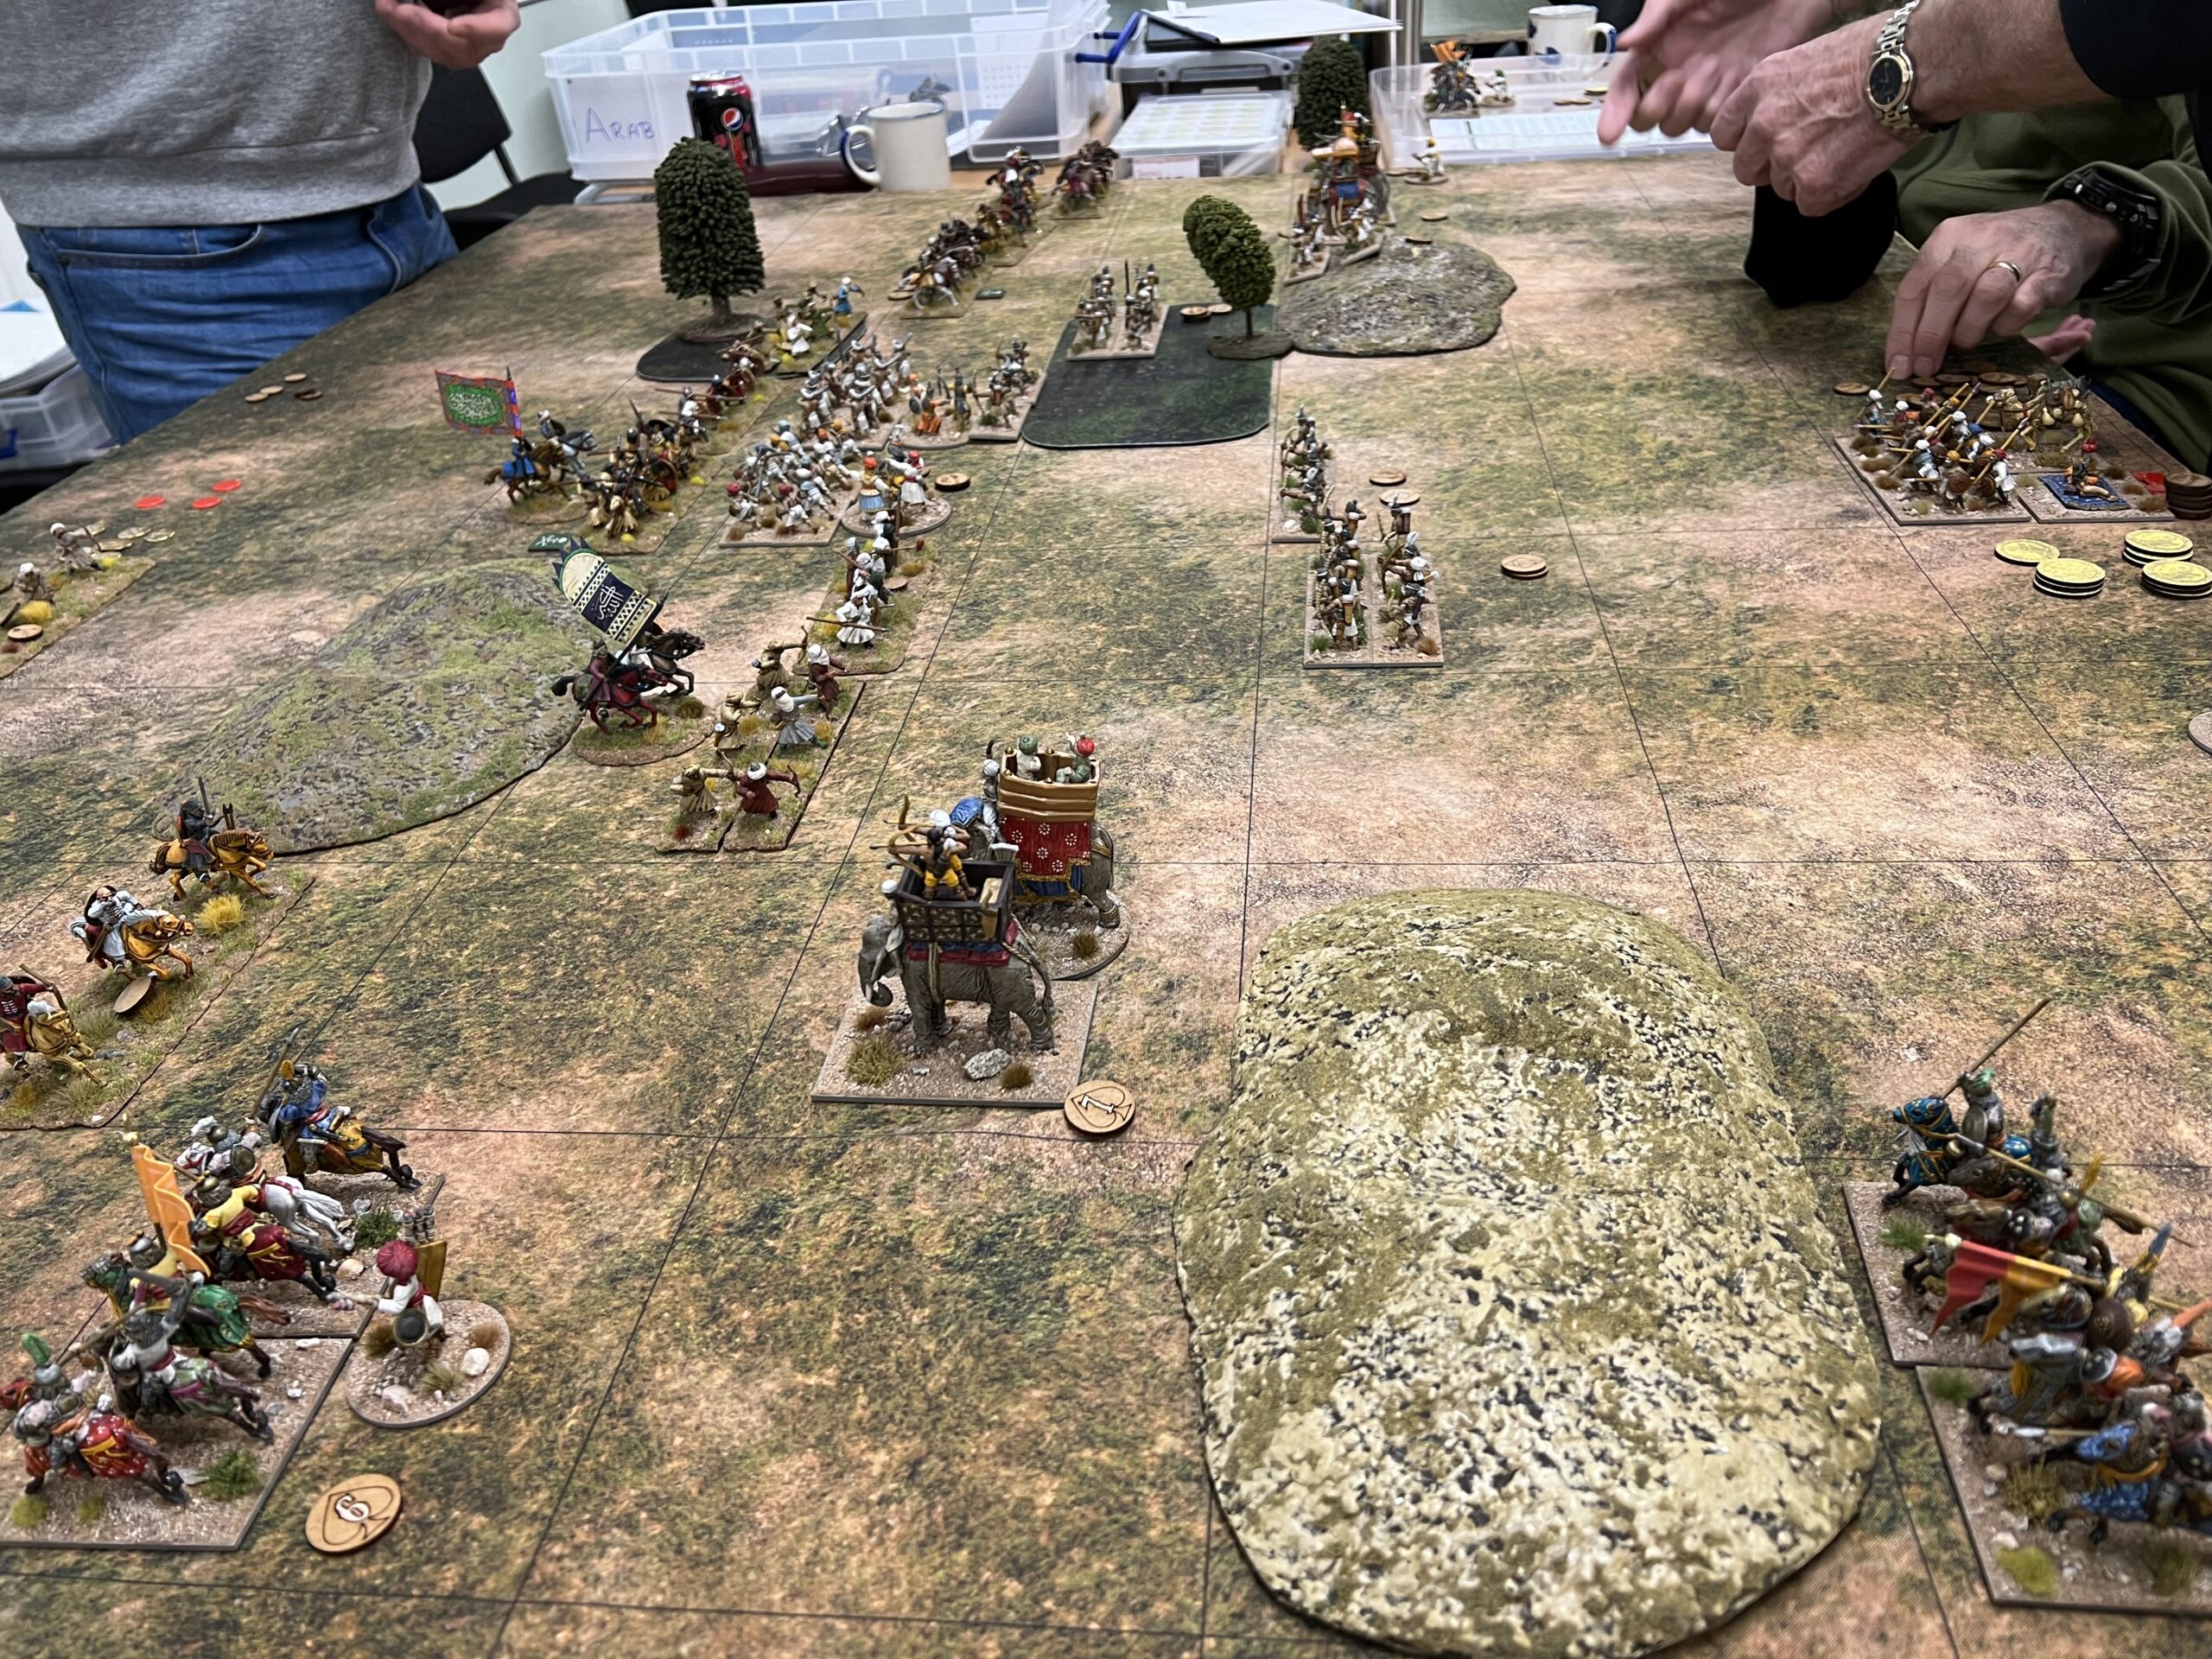
This was as a result of Pete playing the part of Mitsunari having his command position crumble away in just of over 4 turns. This was a rather unfortunate series of events where a handful of arquebusiers were potting away at some troops behind barricades. This in game terms was 3-4 dice needing 5s to hit, causing a single casualty and then Pete throwing a 1 to lose a base. There was 1/18 chance of this happening each turn. Pete managed this 4 times in a row. This caused quick breaks … this also meant that the Rebels pot of motivation dice green quickly and they activated Hideaki to the the rebel cause quickly. Mitsunari committed his troops to leave their uphill positions and charge downhill to throw the rebels back over the bamboo barricades , but that simultaneously failed also through atrocious dice.

With the turncoats activated and a breakthrough achieved we called it there as there was no chance that the Loyalists would fight back from this position.
Break through over the barricade to the Mitsunari’s command post complete ! the game is up

After a break for lunch we reset the game an played again.

so says Ian, will this take longer that 90 minutes?
Teams were reversed and it was a chance for honour to be restored. The second game played out a lot longer.

Naomasa charges bravely uphill but is swiftly defeated
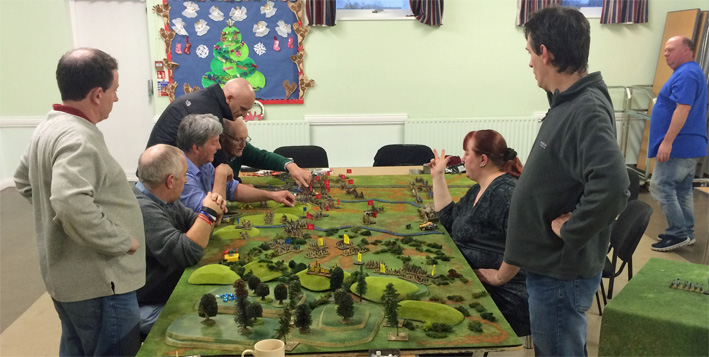
Naomasa and his red devils did charge up the hill , but were swiftly routed. This did draw out some of the Hideie’s troops from their uphill positions. Steve this time in change of Mitsunari held like a stonewall against all that Wayne and Pete could throw at him. This time the arquebus shooting was irrelevant , and the fighting in the pass was fierce. The loyalists has committed all their reserves but they did hold.

This fierce fighting meant the pot of dice for activation did grow quickly and both sides jockeyed for Hideakis’s troops. As most the coloured countered had been removed there was some strategic choice of whether of not to remove the last white counters, as I made them alternate spending the dice based on the phasing team. It got down to the white… but in an imperious turn of combat the Reds received a boatload of dice and convinced Hideaki to join the rebels for a second time that day. The fighting was fierce and soon all troops were active Ieyasu and Hidemoto had entered the rear of the field.
The end of the loyalist line was beginning to crumble again as the turncoats collapsed the flank. But the centre was holding. The 17000 troops that Hidemoto were just a little to few and a little too late, and it looked like the Reds would carry the day a second time. However, when we called time, and night fell on our Autumnal Japanese battlefield, the loyalist line still held and so a minor victory was awarded the loyalists for holding on in the face of overwhelming odds.
The teams were –
Wasabi peas and 1’s
Rice cakes and 6’s
So congratulations to Steve, Andy, Ian and Simon as the morning rebels slaughtering all in front of them, and then holding on in the afternoon as the loyalists in the face of really overwhelming odds!
Thanks all for taking part and entering the spirit in which the game was attended!

